Scoresheet Saturday: Biloxi Brewing Black Gold Coffee Stout

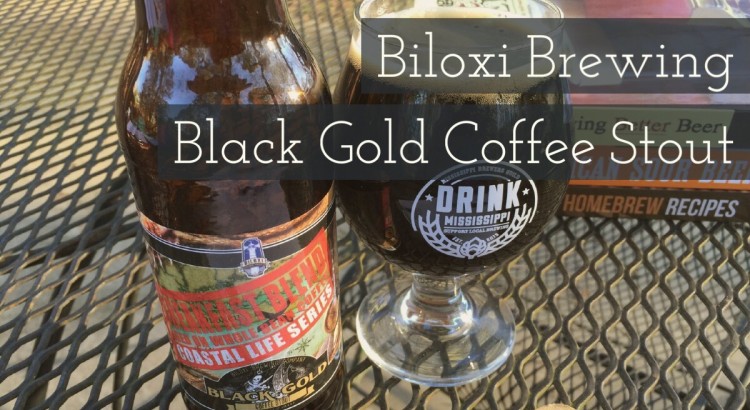
I do my best to support local wherever I may be. Living in Mississippi I do my best to support the current 13 craft brewers in the state. Biloxi Brewing was founded by four homebrewers down on the coast. Cheers to these guys for taking the plunge and starting up the brewery.

Judge: Jeremy Wickham
BJCP ID: F0651
Rank: Certified
Beer Name: Black Gold Coffee Stout
Category: 30A – Spice, Herb, Vegetable Beer
Special Ingredients: Foreign Extra Stout aged on whole bean coffee
Bottle Inspection: Good
Comments: None

Aroma: 8/12

Moderately-high roasted grain, moderate dark chocolate, low vanilla and coffee notes, low caramel sweetness. img_8399.jpg
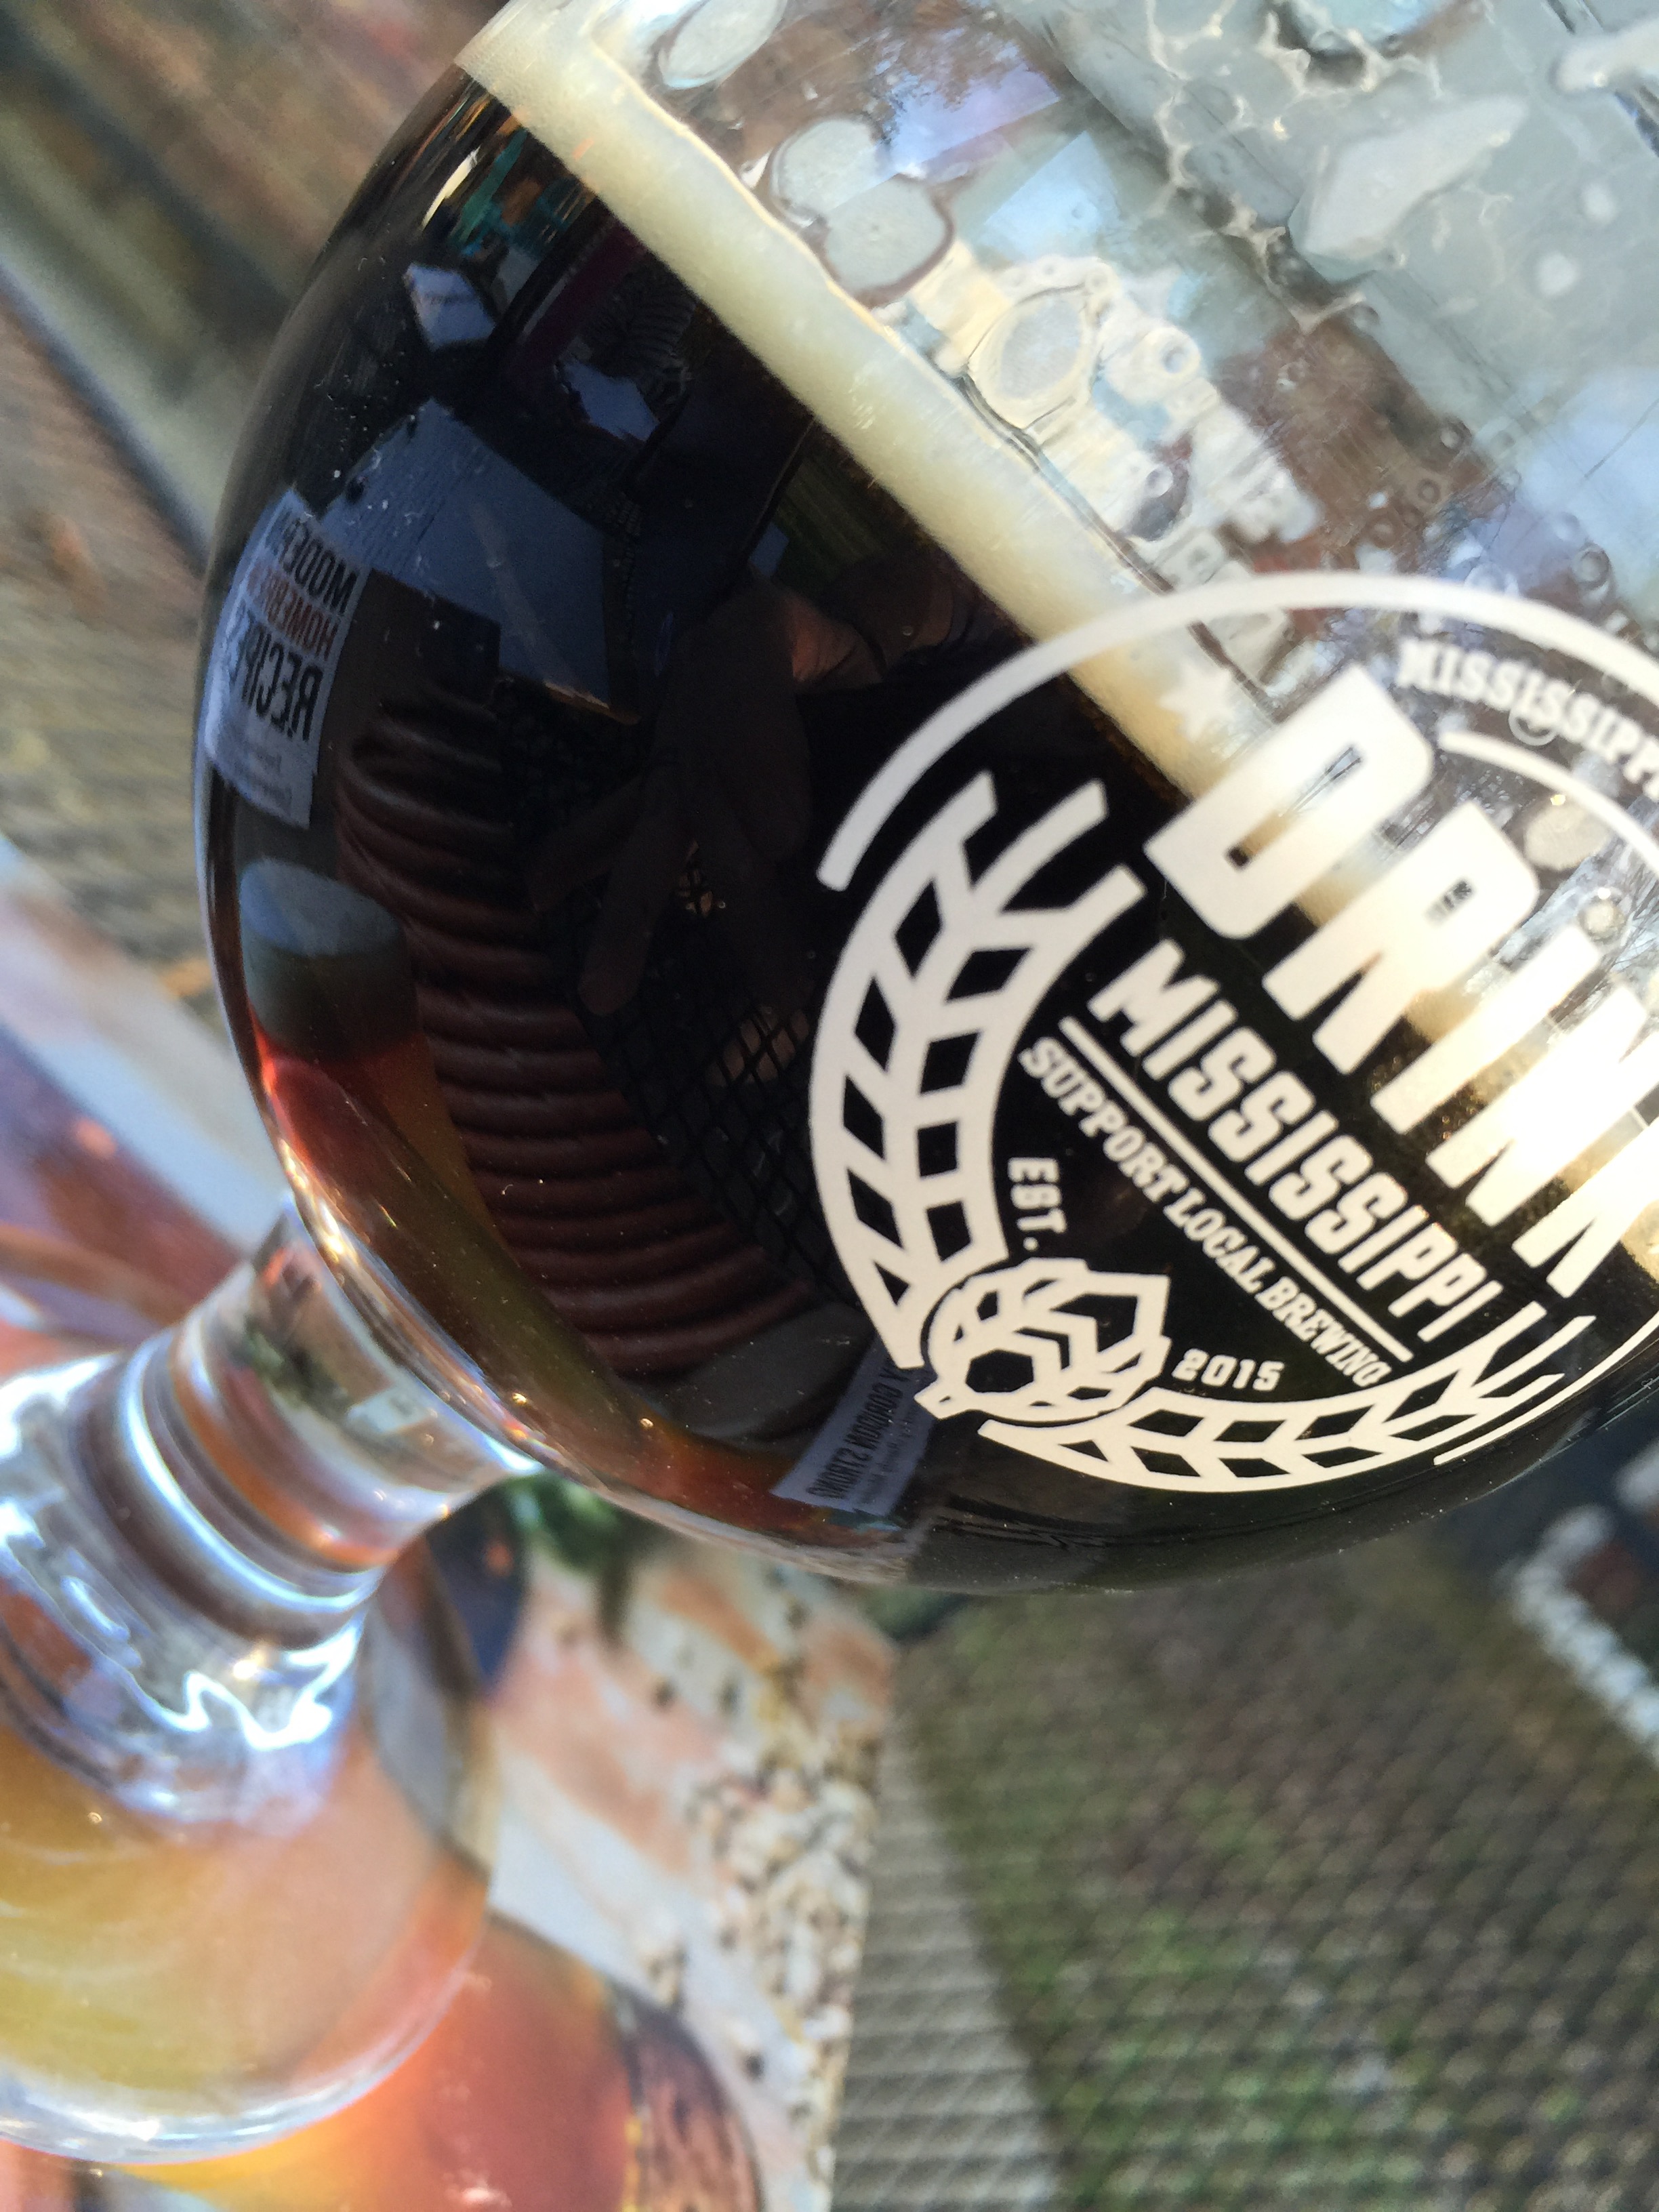
Very low alcohol presence. No diacetyl.
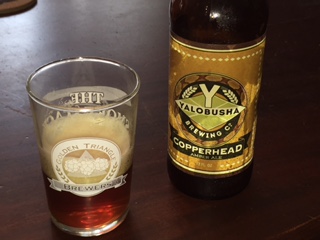
Appearance: 3/3

Jet black with ruby highlights in the sunlight. Poured a tan, creamy head that has tight bubbles along the edge of the glass that is retaining very well. Opaque, hard to determine the clarity.

Flavor: 12/20

Highly roasted malts dominate the flavor. Moderate dark chocolate. Low green pepper notes, no hop bitterness. Very low coffee flavor present. Low caramel sweetness. A small hint of metal in the finish. Roasted grains are lingering in the finish and turns to a harsh bitterness til the very end. Finishes fairly dry. Alcohol flavors are low.

Mouthfeel: 4/5

Medium bodied, moderately low carbonation, high astringency (from the high use of roasted malts), slight alcohol warming, medium creaminess.

Overall Impression:
 6/10

If this were entered into just the Foreign Extra Stout category (16D) this would score a bit better. The coffee flavor seems to have dissipated and is difficult to pick up behind all of the roasted malts. The roasted harshness in the finish is a bit off putting and leaves the mouth feeling the roasty bitterness. There are some small things I would do to help this beer, first the metal flavors could come from your water profile, sparging with water hotter tha 170 degrees or from simply over sparging by extracting roasted tannins. So very close to being an excellent Foreign Extra.

TOTAL: 33/50

Comments: I’ve had this beer before and I don’t recall the dominating roasted flavor that I’m getting today. Is this because I am evaluating this beer and not just simply having a beer. Probably so, that tends to happen when you are judging beers unfortunately. I do try to not “judge” beers when I’m with others simply because that can take away from the fun of enjoying beers. I know had this beer 4-6 weeks ago and the coffee flavor was totally there. Maybe because this sat in my kegerator for a few weeks before today. Who knows? Go drink one and tell me what you think.

Cheers!

Scoresheet Saturday: Yalobusha Copperhead Amber Ale

Yalobusha Brewing in Water Valley, Mississippi is among the breweries of the recent Mississippi craft beer explosion. They came on the scene a couple of years ago along with several other up and coming breweries in the Magnolia State, and have been a welcome addition along with all the others.

One of my favorite Mississippi brews is Yalobusha’s Coperhead. Described by the brewery as a “unique copper colored ale with nutty toasted malt” and “amber ale.” When constructing a BJCP score sheet for it, I found it could be more fairly evaluated using the Red IPA style. The beer comes in at 65 IBU and 5.6% ABV. This is more in line with the Red IPA style than the American Amber Ale style, so I decided to use the guidelines for Red IPA.

Judge: Richard Bryant
Beer Name: Yalobusha Copperhead Amber Ale
Category: 21B Specialty IPA – Red IPA
Special Ingredients: None

Aroma: 9/12

Grainy sweet malt, light toasted bread with moderate piney hops. Low level of caramel aroma. Very low esters.

Appearance: 3/3

Copperhead Amber AleDeep copper color and clear with a large cream colored foamy head that last for the whole glass.

Flavor: 17/20

Balanced well toward the hop flavors and bitterness. Hop flavor is moderately high with a very piney note. Clean fermentation with a low caramel malt sweetness that is barely perceptible and a very low dark toast flavor. Finishes clean and dry with a lingering bitterness,

Mouthfeel: 3/5

Medium body with a moderately high carbonation. Slightly creamy due to the head and very slightly astringent.

Overall Impression:
 7/10

Highly hopped and clean Red IPA. Somewhat dry. The hoppy balance tends to overpower the caramel and toast flavors that are relegated to the background. Overall a pleasant beer drinking experience especially for lovers of hoppier ambers. This beer sits on the fence between American Amber Ale and Red IPA coming in at 65 IBU and5.6% ABV it fits with Red IPA, but the drinking experience sits in the middle.

TOTAL: 39/50

Comments: This beer is one of those beers that are much more enjoyable to drink and enjoy than to try to evaluate. I really love to drink this beer after a day of work while cooking dinner or going through some other task. This score sheet goes to show how difficult it is to evaluate a beer you have already decided you like especially using the BJCP guidelines which were designed for homebrew competitions. Of course this beer is not a home brew, and has no reason to comply with the guidelines. In any case Copperhead is a very nice drinkable ale. Try it! You’ll like it!

Product Review: Blichmann BrewEasy Turnkey 10 Gallon Gas System

BrewEasyPost-2In this post, I am going to discuss my 10 gallon gas fired Blichmann BrewEasy Turnkey system. You are probably wondering why and the hell I even bought it. Well, I’ve been looking to upgrade my brew system to something more automated for some time now. Nailing my mash temperatures has something I’ve always kind of struggled with. I’m always within about two degrees, but I wanted more control and I wanted to be able to do step mashes as well.

My decision to buy the BrewEasy is based primarily on how lazy I am. This also includes having to design a new system, build it, and then fix the bugs in it.  So I wanted to be able to purchase something that was turnkey and would give me the control I wanted. After a lot of research, I settled on the Blichammn Breweasy. The biggest struggle I had when choosing my system was trying to decide on going electric or propane. I choose to go with propane because I like to drag my system around to brew at other locations besides my garage. This route also didn’t require me to have a 240 v GFCI circuit run out to my garage. A local electrician gave me a minor stroke when he wanted $1,600 to run the power I wanted to my garage. I decided to go with the 10 gallon system because it utilizes a 15 gallon mash tun. My previous 10 gallon mash tun was used at capacity pretty frequently, so I wanted something larger. The 15 gallon mash tun will also allow me to do very high gravity beers with 5 gallon batches. So anyway, let’s start discussing the specific components of the system.

Read More

Leftover Ingredients? Brew with Them!

This weekend as I was cleaning my Man Cave (really it’s just a musty basement) I walked by the 5 gallon bucket where I throw all the leftover grain from ingredient orders. You know the deal. Partial bags of specialty malts, some crystal 40 here, black patent there. When I saw the bucket, I thought, I better do something with this before all this goes bad. So I sat down to do an inventory. When you inventory your leftover grain be thinking in terms of recipe. Ask yourself, “If I was reading this list of ingredients in a recipe, what style of beer would I be looking at?” If you have English pale malts and some crystal, for example, you may think, “bitter.” You can brew good bitter with either American or English hops, so don’t worry about pairing it up with English hops only. If you are looking at a bunch of Vienna malt (like I was) you may think something along the lines of a Vienna lager (or a faux lager with neutral ale yeast) or some other toasty malty beer.

I had a lot of Vienna, but I had no Munich with which to pair it, so the Oktoberfest was out. I had a few pounds of base grains left from previous batches. I saw some Golden Promise, pilsner, 2 row, various crystal malts,  and various and sundry other items. I already have 5 gallons of bitter in the beer fridge, and I have been brewing those a lot lately, so I kept thinking. A quick check of the freezer revealed partial hop packets of Warrior, Horizon, and Amarillo. I had a few full packets of Centennial and Simcoe. It should be obvious what my next thought was. . .IPA, of course.

The guys in the brewing class I am teaching with Jeremy had talked about how much they love IPA. A small batch could probably be ready to drink before the 5 class sessions over the next month and a half end. Since I didn’t have quite enough base grain to to a full 5.5 gallon batch, I quickly scaled down to 3 gallons and improvised a recipe. Here is what I came up with:

4lbs 12 oz Golden Promise

1 lb 5 oz Pilsner

8 oz Crystal 15

4 oz Dark Wheat

3 oz Crystal 40

3 oz 2 Row

3 oz White Wheat

0.2 oz Horison 11.5%AA @ 60 minutes

0.2 oz Warrior 16%AA @60 minutes

0.6 oz Centennial 9.5%AA @ 10 minutes

0.6 oz Simcoe 12.5%AA @ 5 minutes

0.6 oz Amarillo 8.2%AA@ Flameout

Mash at 149F for 90 minutes, 90 minute boil, Safale US-05 Yeast fermented at 67F.

That gave me the following specs in BeerSmith:  Batch Size-3 gallons, OG of 1.066, IBU-65, FG of 1.012, ABV-7.1%, 7.6 SRM.

What came next was a frenzy of compiling and crushing all the grains and a quick small batch brew day. While I was at it, I had a Super Bowl gathering to attend later in the day, so I decided I’d dry some of my spent grains and whip up some of Jeremy’s Spent Grain Buttermilk Biscuits that he blogged about here earlier. They would go well with a backwoods Super Bowl party.

Be right back after brewing. . .

Well, sometimes the brew gods give, and sometimes they take away. I missed by original gravity on this recipe by a long way. It was supposed to be 1.066, but I ended up at 1.052. I imagine the small batch size and different equipment profile threw off my BeerSmith calculations. Not to worry, it will just be one of those “session ipas” I keep hearing about. In any case, relax, don’t worry, have a homebrew.

My 90 minute boil may not been vigorous enough, but the volume hit pretty spot on. With the early Mississippi February daytime temperature today at about normal at 57F, and night time temps hitting near freezing, my groundwater is pretty cold. I was able to chill this small 3 gallon batch well below 70F with my copper  immersion chiller in no time at all (ok. really about 15 minutes). That’s my favorite thing about winter brewing in the South. Quick chilling but still not bone chilling cold on the patio. There is no way you can chill with an immersion chiller and ground water in under 45 minutes or so in summer time here.

Anyway, I went straight to the fermenter, straight away pitched my US-05 yeast, and  then straight to the fermentation chamber. The wort smelled fantastic, and it foreshadows a wonderful “session” IPA. I will let you know how it turns out in a couple of weeks.


Stupid Easy Rustic Beer Bread

Ok, I love all things bread, but I’m a fatty, so that’s to be expected. My mother recently taught me a rustic beer bread she’s been making for my step father. The recipe was stupid easy and tasts great. This recipe is also very forgiving and requires no kneading. I made some tweaks to the recipe to include beer, specifically homebrew!

RusticBreadThis recipe only calls for four ingredients:

  • 6.5 cups bread flour
  • 1.5 tbsp. instant yeast
  • 1 tbsp. kosher salt
  • 3 cups pale ale

Whisk together the flour, yeast, and kosher salt in the largest mixing bowl you have. Then add the beer. Using a spatula, pull the bread dough together and be sure the liquid is mixedRusticBread-2 throughout. If the bread dough looks too dry, add a splash of water or more beer. You want a moist, pliable dough. It’s ok if your dough looks too wet. Again, this dough is super forgiving, you just don’t want it too dry.

Spray another bowl large enough to hold 2-3 times the volume of your dough with cooking spray. Place RusticBread-3the dough in the bowl and cover with a damp towel and place in warm place (I use my oven with the light on) and let the dough rise for 4-5 hours. The dough should at least double in size, how long it will take to rise will vary.

After your dough has doubled in size, carefully transfer the dough to a 9 or 12 inch cast iron skillet. I used a 12 inch skillet for this post. Using 9 inch skillet will give you a thicker loaf. If your skillet is well seasoned, RusticBread-4you shouldn’t need to spray it down with anything. If your skillet isn’t well seasoned, go a head and spray it down with some cooking spray. Let the bread rise another 2-3 hours. Another note, if you want to use loaf pans instead in place of a cast iron skillet, go a head. Just cut the loaf in half and place the two pieces into two different loaf pans.

Preheat your oven to 425° F. Place your cast iron skillet in the oven and bake your bread for 45-60 minutes. RusticBread-5Pierce the bread with a skewer after 45 minutes and remove. If the there is nothing sticking to the skewer, your bread is done. Continue checking the bread every 5-10 minutes until the skewer can be removed cleanly. If you have an instant read thermometer, like a themapen, you can check the bread’s doneness by checking it’s temperature. Cook the bread until the interior temp reaches 210° F.

Once your bread is done, remove from the oven and carefully remove from the cast iron skillet. RusticBread-6Place on a cooling rack until the bread is cool enough to handle. Cut the bread up however you’d like and enjoy.

In this recipe, I used pale ale, but you can really use any beer you like. Lighter beers work well and so do hoppy beers. Just about any beer will work. However, I have found that stout and porters do work, but I find that the darker malt flavors clash with the bread and make it almost bitter. Herbs work very well in this bread as well. Rosemary in this bread is fricken awesome. Just chop it finely and add it to your dry ingredients before you add your liquids. It’s that easy.

Spent Grain Buttermilk Biscuits

I brewed a Northern English Brown ale, and as I was cleaning out my mash tun, a light bulb light popped on in my head. I went inside, grabbed a few cookie sheets, and turned on the ovens to 200 degrees. That light bulb had my brain processing what I can do with these spent grains. I had about 1/3 of my spent grains drying in the oven. Every so often I would stir the grains around and let the hot steam escape from underneath the almost dried top layer.

As the wheels were still turning in my head, I knew I wanted to make biscuits for breakfast in the morning. Boom! I told my wife that is what I was going to do. I got that response that I knew she was worried. Even with the skeptical wifey, I moved onward and adapted my normal buttermilk biscuit recipe.
Read More

Harvesting your “Crops”: Top Cropping Yeast for Homebrewers

John Smiths Brewery
John Smiths Brewery

Happy New Year! I suppose this entry about harvesting your abundant crop should have appeared at Thanksgiving, but better late than never, and it’s never too late to give thanks. So here we go.

You’ve heard and read about it a thousand times in your books about classic brewing techniques. You often see the phrase “a true top cropping strain” when browsing the White Labs of Wyeast yeast inventories. Read an article or watch a video about British brewing and you’re almost sure to hear or see it mentioned. The famous yet elusive top cropping of yeast.

A conversation about top cropping would certainly be incomplete without mention of the famous Yorkshire square. Without going into too much detail the Yorkshire square is a fermenting vessel dating back some 200 years. Traditionally, it is a 2-story square fermenter built from Welsh slate. The top story has a walled deck with an open top. Fermentation takes place in the bottom chamber and the yeast foam pushes into the top chamber and settles onto the deck. The fermenting wort from the bottom of the chamber is pumped over the foam in the top to keep the yeast mixed in. Eventually, the pumping stops, and the beer in the bottom settles and clears. This beer undergoes further manipulation, but that is not relevant to our discussion here. Some breweries still use the old slate square fermenters, but many modern breweries have turned to stainless steel squares or even cylinders. It’s not the shape or material that is important; its the method. Several breweries use the Yorkshire square method including Samuel Smith’s, Theakston, and Black Sheep. Black Sheep explains their process on their website.  Also, this guy built his own Yorkshire square with, apparently, nice results. You may have to scroll down his page to find the square. However, before you go on a slate search, remember, it is the process, not the shape or materials used that we are worried about.


Yorkshire square with yeasty head and the fan shaped recirculating arm visible.

One of the advantages of using this “open fermentation” method is that the brewer can “crop” or collect yeast by removing the foam from the top of the fermenting wort, thus the name top cropping.

Before this post becomes a lesson on Yorkshire squares, let’s get to talking about harvesting yeast by top cropping. There are several methods used by homebrewers. One involves using a big blow off tube from a carboy running into a sanitized container. When the brewer fills the carboy, he or she leaves minimal head space. As the “true top cropping strain” begins to work, the foamy, yeasty head will push out through the blow off and into the container. However, this method seems a bit messy and complicated for me to mess with. I would prefer less clean up.

The method of top cropping I use is much easier in my mind to accomplish. My method is similar to the method of Arcadia Brewing except on a much smaller scale. They use buckets and trash cans with big cylindrical fermenters. I use a spoon and mason jars with an 8 gallon Ale Pale. I start by selecting a strain of yeast that lends itself to top cropping. (A list of top cropping strains appears at the end of this post.) For this post I chose to brew a best bitter using Wyeast 1469 West Yorkshire Ale. This yeast is the yeast used by the Timothy Taylor Brewery of Landlord fame.

I brewed my beer as I normally would. I’ll spare you the boring details since, I assume, if you are reading a blog post about top cropping, you probably already know how homebrewing works. I’ll stick with things relevant to top cropping

  1. It works best to use an 8 gallon fermenting bucket for this method.
  2. Pitch a normal amount of yeast into the bucket with your cooled wort. Place the bucket
    Dirty foam just before the first scraping.
    Dirty foam just before the first scraping.

    lid loosely in place and ferment as normal.

  3. 24 to 48 hours after pitch remove the lid. A “dirty” foam will have appeared on your beer. Use a sanitized spoon to remove the “dirty” parts. This will consist of hop bits and protiens that get pushed to the top by initial fermentation. Discard this foam. Reset lid loosely in place. Boil about a gallon of water and place in the fridge to cool over night.
  4. 72 hours after pitch reopen your bucket. At this time you should see a nice thick cleaner foam on your fermenting beer. Use a sanitized spoon to scrape this foam off and place it into sanitized mason jars. Use as many jars as you need. Use the pre-boiled
    Harvest with a sanitized spoon. I know this looks a lot like the dirty pic above, but it is vastly different. I promise.
    Harvest with a sanitized spoon. I know this looks a lot like the dirty pic above, but it is vastly different. I promise.

    cooled water to fill the mason jars full of foam. You can pour right on top of the foam. Loosely close the lids of the jars and refrigerate. Finally, completely seal your fermenter lid complete with air lock.

  5. A couple of hours after harvesting vent the mason jars as the yeast foam will want to off gas. Once the yeast settles, seal the jars tightly and store in the refrigerator. You should get enough yeast in each jar for a 5 gallon batch if you use it fairly quickly. If not, just make a starter and move forward.
Harvested yeast after a day or two in the fridge.

A couple of things to remember are that you can keep harvesting from this one initial pitch for quite a while before having to buy another smack pack. Just remember to skim and harvest on the same schedule for each subsequent batch. This will keep your yeast consistent. If you harvest early, you may get cells that are quick to peter out. If you harvest too late, you will increase your chance of getting cells that have a tendency not to flocculate. So keep it on schedule, and you should have no trouble fermenting later batches. Always try to harvest from lower gravity lower hopped beers. I have heard of 8 to 10 repitches using this method. I’ll edit this post after I brew with the cropped yeast to let you know how it went.

Top Cropping Yeast Strains

Wyeast 1187 Ringwood Ale

Wyeast 1318 London Ale III

Wyeast 1469 West Yorkshire Ale

Wyeast 3068 WeihenstephanWeizen

Wyeast 3638 Bavarian Wheat

Wyeast 3944 Belgian Witbier

WLP 022 Essex Ale

WLP 038 Manchester Ale

WLP 039 East Midlands Ale

This is by no means intended to be all the strains that are good for top crop harvesting.


Diacetyl: What the ale is wrong?

2015-10-28 20.23.17The scientific definition of diacetyl is a vicinal diketone with the molecular formula C4H6O2. In simpleton terms, it is a movie theater butter or butterscotch flavor. Yes, I have heard that movie theaters actually are using diacetyl when they ask you if you want your popcorn buttered. Is this fact? I’m not saying no, but I wouldn’t doubt it. But diacetyl is a common problem in homebrew. I have even had a lot of commercial examples that have loads diacetyl. But this is is not a flaw in some English style beers.

So how does diacetyl get in our beer? Diacetyl is produced during fermentation. It starts to show up in the low krauesen phase. Huh? Low krauesen? This is the phase of fermentation when the yeast has finished growing and you’ll start seeing a foam wreath develop in the middle of the surface. The yeast has not completely adapted to the environment and ready to start metabolizing those sugars you worked so hard to create. Ok, maybe I need to go in depth on the yeast development cycle one day. It is quite interesting what all those yeasts do during fermentation. Back to diacetyl. It can start showing up in the low krauesen phase and the yeast will start cleaning up by products that were developed during late krausen phase.

Ok, so now we know when diacetyl can show up in our beer. Now why am I tasting it in my beer Well, it can be a lot of things.

  • If you have a long lag phase (from when you pitch to when you get to the growth phase of fermentation) which can be caused from poor yeast health or insufficient aeration.
    Some bacteria strains can cause diacetyl production. Here is where I use that sanitation word. Any homebrewer has heard sanitation probably 3.7 million times. Seriously. Sanitation, so that’s 3,700,001 times.
  • Premature racking out of primary. See earlier? You might not be able to see when your beer in late krauesen. So make sure your beer is done fermenting by checking your final gravity for a couple days straight to make sure your gravity is not dropping.
    Under pitching. Huh? So you’ve never made a yeast starter? You’ll improve your beer ten fold by making yeast starters. Take the plunge, get a stir plate and you can make sure you’ll have enough yeast to pitch.
  • Too much oxygen. Wait one minute. I bet you remember me mentioning earlier about insufficient aeration? Well of course I did, there can also be too much. Yeast absorb all the oxygen it can during the growth phase. Well if there is too much oxygen there will still be oxygen lingering when the fermentation is over. Most homebrewers don’t filter their beer. If there is still oxygen left over, the yeast will still be feeding off of it and still trying to go through fermentation phases. Also minimize oxygen exposure after fermentation started, e.g. while racking to the keg or bottling bucket.
  • Increase your fermentation temperature. That is use a diacetyl rest. A diacetyl rest is a common practice for lager beers. When you warm up the yeast it becomes a bit more active and it will help clean up the yeast. You can also use a diacetyl rest for ales, but most of the time you are fermenting at the correct temperature for the diacetyl to be cleaned up.
    Use a less flocculant yeast strain. Flocculation is the state of yeast of being clumped together and falling out of solution. If the yeast is still in suspension it will be a little more efficient when cleaning up diacetyl.

Diacetyl will most of the time be a flaw in lagers, but not in every ale style. It is acceptable in a Czech Pale Lager, English and Scottish style beers and also a dry stout.

I’m sure we have all had this problem show up in our beers. This is one of the major issues that I fight with, especially since I started doing lagers.

Relax, don’t worry, have a homebrew.

References:
How to Brew by John Palmer
Beer Judge Education Course

Originally posted on I Make Wort.