Authors: Ron Unz and Jeremy Wickham
There are several things you need to brew the perfect Berliner Weisse. You need to chose a bacteria strain, control your fermentation temp, oxygen rates, and the amount of hops in your beer. By managing these four things, you are on target for a great berliner wiesse. Unlike other beers, the bugs in a Berliner Weisse don’t care much for standard conditions. So lets just jump right into some of the specifics of setting up the perfect atmosphere for souring up your beer.
Lactobacillus Strains
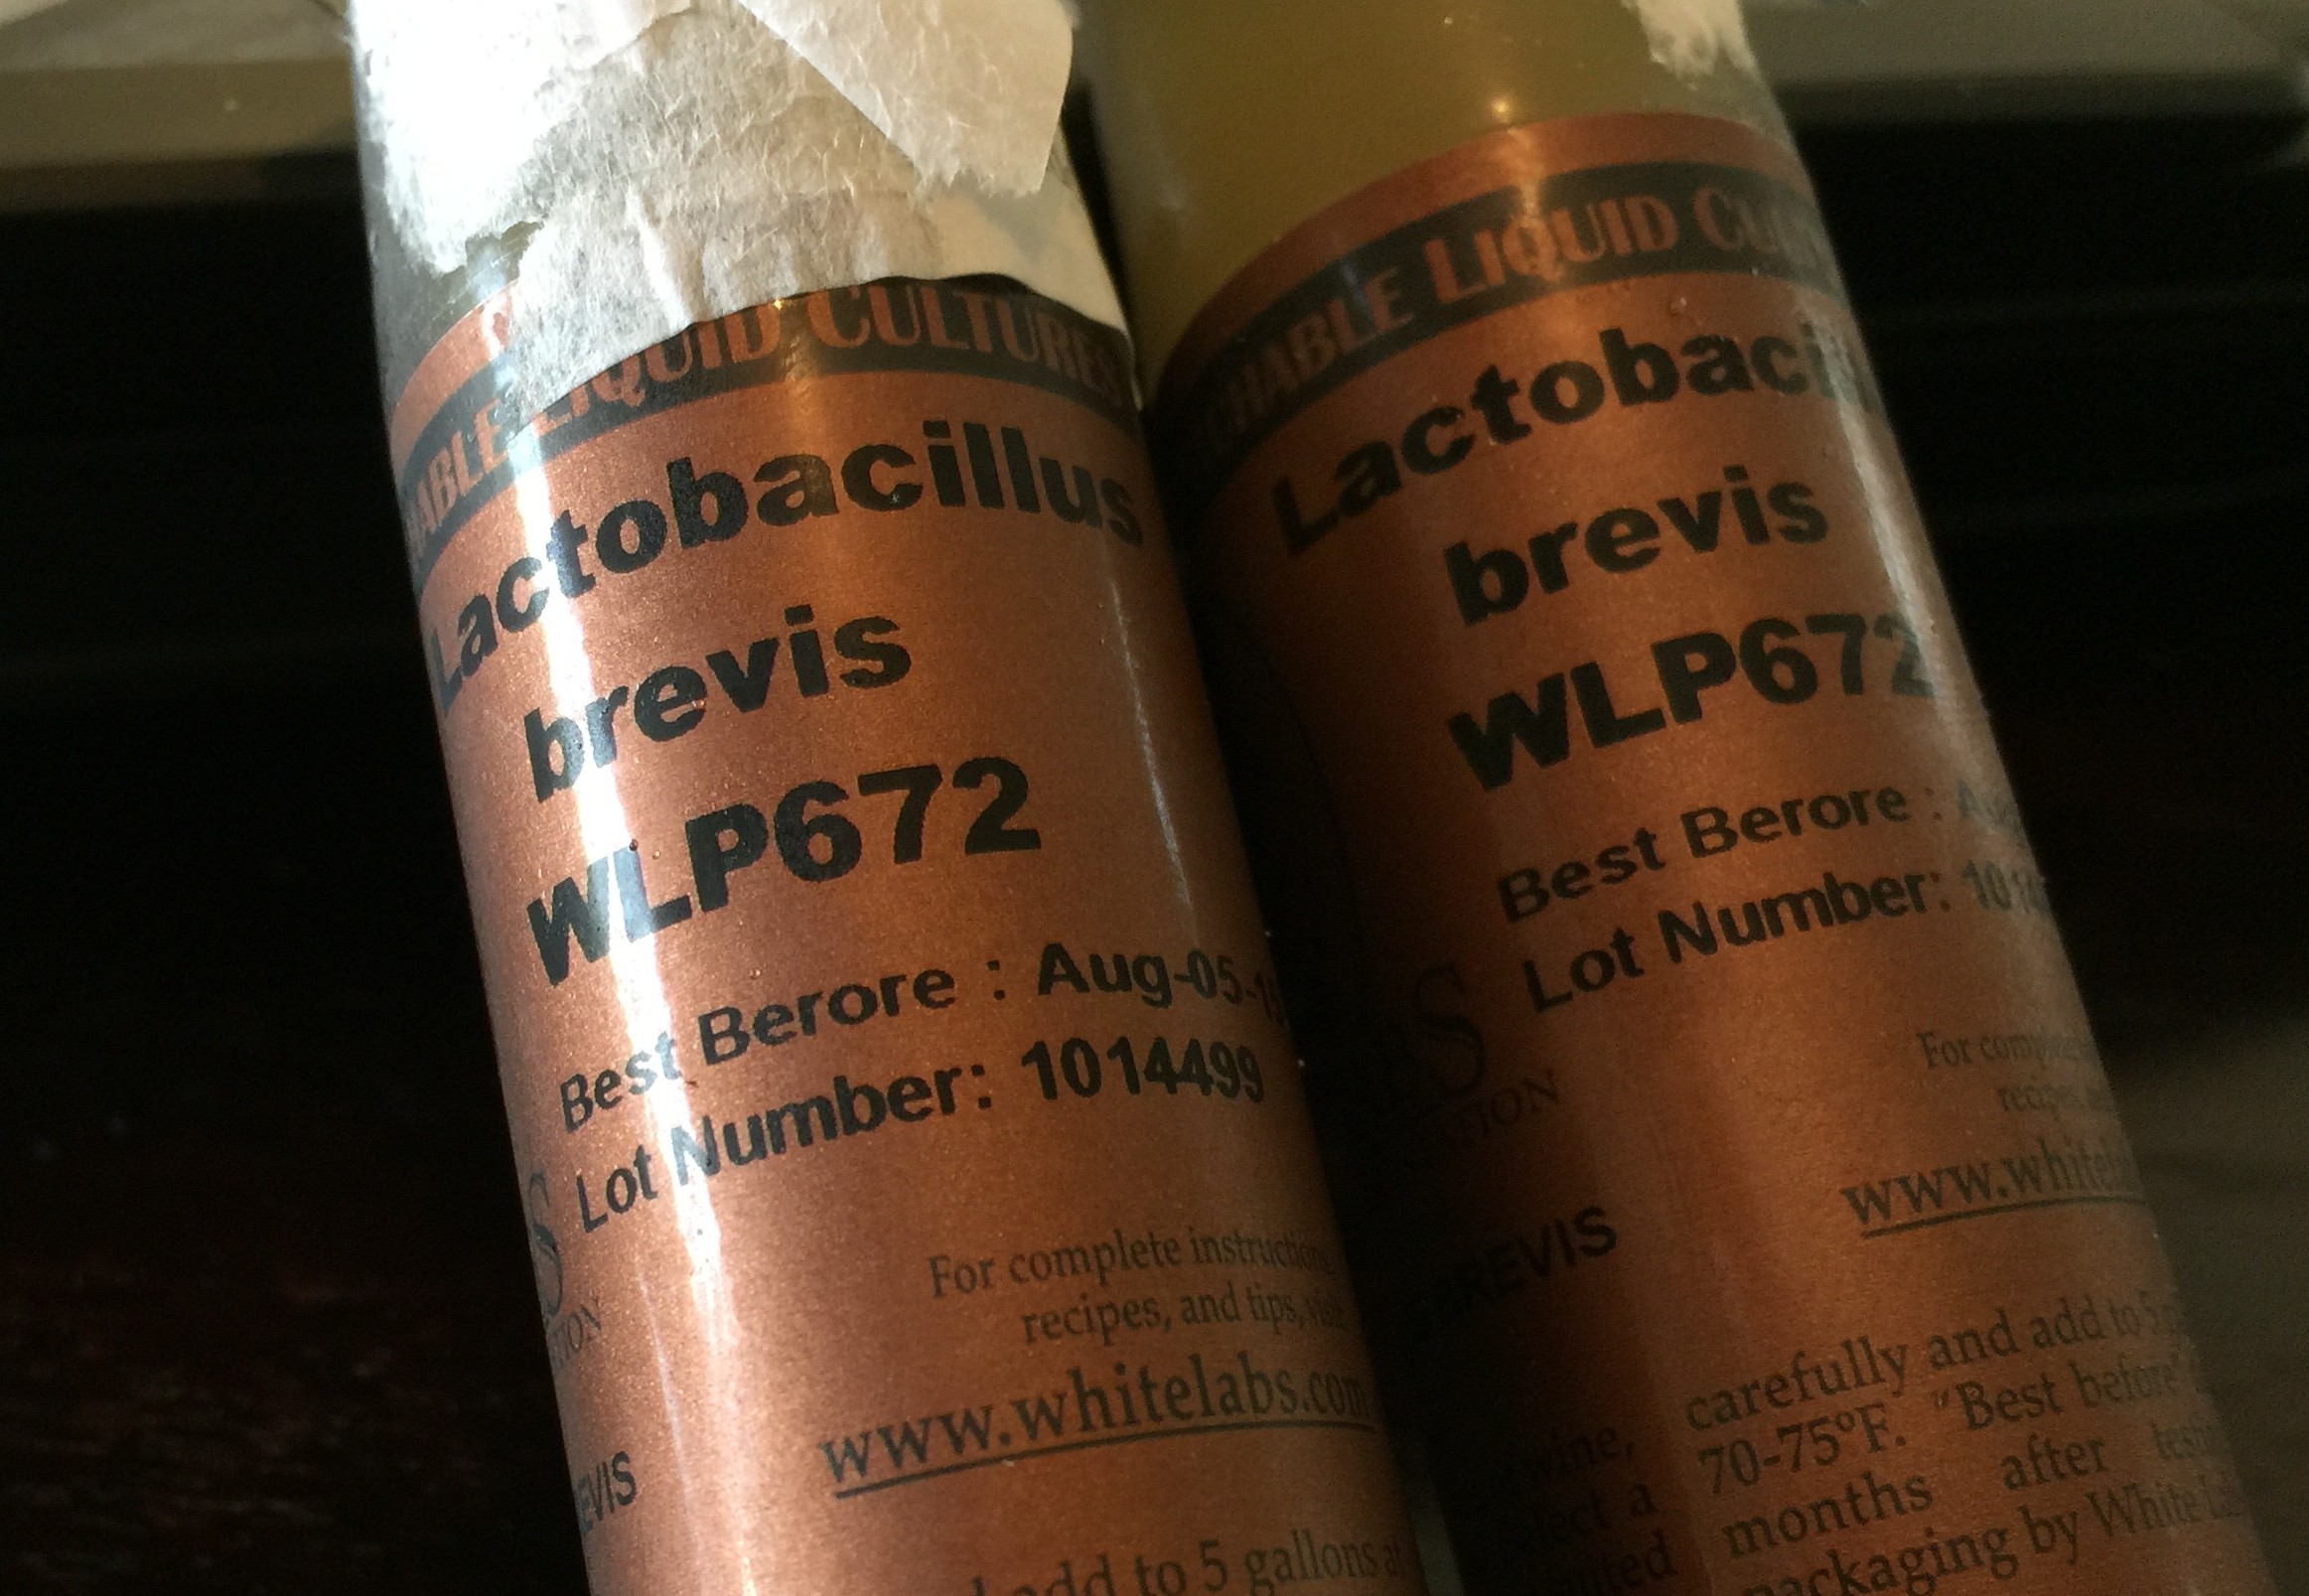 There are three primary lactobacillus strains available to homebrewers that can be used to brew a Berliner Weisse or quick sour an ale. Lactobacillus delbrueckii, lactobacillus brevis, and lactobacillus plantarum. Delbrueckii and Brevis are ones you are most likely to encounter during your adventure into brewing Berliner Weisses. The Berliner Weisse blend made White Labs is made with Delbrueckii and a Sacc. strain. Brevis and Delbrueckii are available through white labs separately. Some yeast vendors are starting to come out with blends that contain brevis. Plantarum usually isn’t found at your homebrew store, but it is known to be used as a probiotic, so you can pick this up online or at your local health food store relatively easily. You maybe able to plantarum from yogurt or other food product that contains it as a probiotic. Wyeast does distribute a lactobacillus buchnire strain, but we are not familiar with working with that particular strain.
Personally, brevis and plantarum are the strains of lactobacillus we would recommend folks using in their Berliner Weisses or quick soured ales. Brevis and plantarum work very well and quickly in fresh warm wort. We haven’t had much success using delbrueckii, so we would recommend avoid using it or blends where delbrueckii is the only strain of lactobacillus. If a blend has delbrueckii and another quick acting strain, go ahead and use it; just know that the tartness in the beer is most likely not coming from delbrueckii. Brevis and 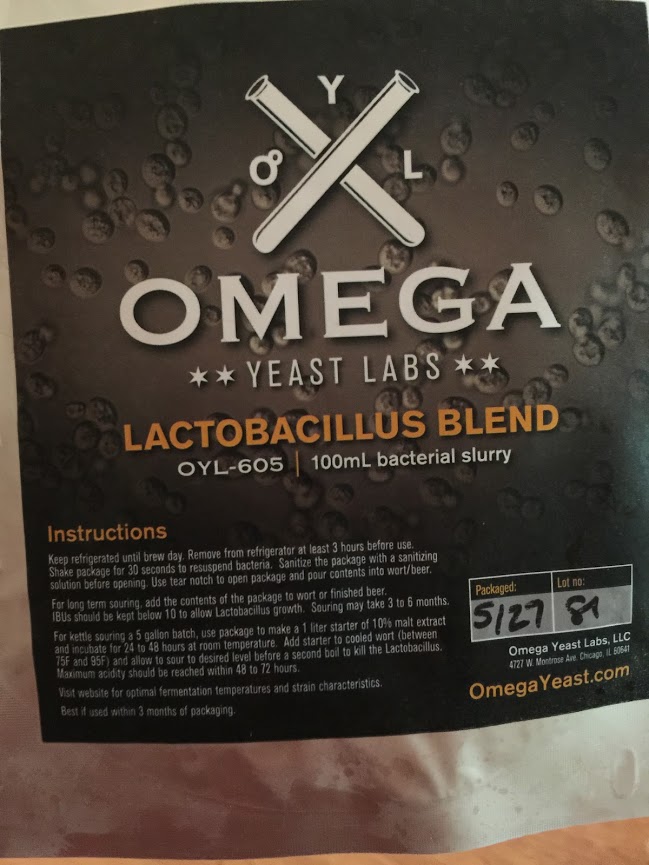 plantarum also work very quickly, usually with in 24 hours to give the beer a very strong tartness. Usually a pH of 3.5 can be reached with in 24 hours. Both strains produce citrus-like flavors and provide a relatively clean sourness.
Fermentation/Sour Wort Temperatures
Lactobacillus doesn’t like being kept cool. Most strains prefer being kept between 90° F to 110° F. Wort tends to sour more quickly the higher the temperature. Staying within this temperature region for 24 hours is generally long enough for beers containing lactobacillus to reach their minimum pH, usually around 3.4-3.5. If you don’t want to beer to be aggressively sour, you can ferment at cooler temperatures for 24 hours then pitch the yeast you plan on using to complete fermentation. We recommend pitching lactobacillus at warm temperatures (above normal ale yeast tempeatures, 90-110° F) and then cooling to ale temps after 24 hours and then pitching your favorite ale sacc. strain. We’ve had good luck using European Ale Yeast (WLP011) and US-05 in our berliner weisses.
Oxygen Pickup
Oxygen is your worst enemy when working with lactobacillus. You are almost in a tough place when working with lactobacillus. Lactobacilllus doesn’t like oxygen, but your standard brewing yeast does. However, in the presence of oxygen, there are many off flavors and aromas that can occur.
- Acetic acid – think of how your standard white vinegar tastes. Although acetic acid in a Berliner Weisse is inappropriate for the style, it can be present in low levels in other sour ales such as a Flanders Red.
- Butyric acid – you remember in college when you drank too much and here comes the McDonalds you ate after you left the bar? Yeah, that’s what butyric acid is. That is a flavor and aroma compound you do not want showing up in any style of beer.
- Isovaleric acid – when you smell this beer you instantly want a plate of spaghetti. Not really, but with this compound it can smell like Parmesan cheese or some stinky feet that just got back from the gym.
 When you are done boiling your wort for your sour ale, you do not want to oxygenate your beer. You want to transfer your wort from your kettle to your fermenter as carefully as possible. Some splashing is ok, but excessive amount could induce too much oxygen. If you are going to keep the wort in the kettle and kettle sour your beer, you will want to flush the wort and head space in your kettle with CO2 or nitrogen and then seal the lid by applying some tape or plastic wrap around the edge of the lid. You want to make the kettle sealed and full of CO2 or nitrogen.
One things we have both forgotten to do at some point while brewing up our first batches of Berliner Weisse is keeping the airlocks full. If you are letting the beer sit in primary for a long period of time and you let the air lock run dry, you run a very high risk of letting some of that lactobacillus produce some acetic acid. So, keep those air locks full!
Hops and Hoping Rates
Lactobacillus hates hops. Lets say this one more time, lactobacillus HATES hops. Most recipes call for 3-5 IBUs of bitterness in the boil. We find this to be too high for lactobacillus. Hops really are effective at keeping lactobacillus at bay, so you don’t want very much in your beer. We highly recommend going with no hops in your Berliner Weisse. Who can taste 5 IBUs of bitterness? The reason most recipes have hops noted is so they follow the Reingeitsgebot. If we had to guess, just about no one, so we just skip adding hops all together. However, what if you want hop flavor in your sour ales? Well, the best solution to that is to blend with a hoppy beer or dry hop your sour ales. A dry hopped Berliner Weisse/sour ale is quiet refreshing and the acidic character often times brings new notes to hops to the surface that you wouldn’t have noticed in a regular beer.
Levels of pH
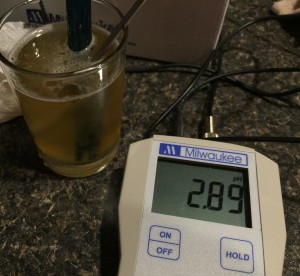
Having a pH meter is not necessary for brewing up a delicious sour ale. However, they can be very useful in the fermentation process. Pitching rates, temperatures, and the type of wort the lactobacillus is pitched in can have an affect on how long it takes for lactobacillus to drop the pH of your beer. Having a pH meter gives you another tool to dial in your process and give you more control over how sour your beer is. Say for example you just want a slightly tart beer. Well you can let lactobacillus do it’s thing until you hit a pH of 3.6-3,7, then cool to your normal ale fermentation temps, and let the yeast finish off the sugars. Your pH will drop a little bit from the fermentation process, but you’ll be left with a tart beer and not a crazy sour beer. On the other hand, you can monitor the pH of your beer until it reaches its terminal pH and then ferment your yeast. A pH meter just gives you the ability to have more control of your fermentation process. We will be having a future post about how to measure pH and go about maintaining pH meters.
For deciding how far to take the pH with your sour beer, you need to know what pH gives you specific level of sourness. We have provided some basic numbers below.
 4.5-3.9: Imperceptible
- 4.0-3.6: Perceived brightness to the beer. This is a great pH range for brightening up a fruit beer.
- 3.5-3.4: Good level of tartness. Appropriate range for a Berliner Weisse
- 3.2-3.3: Very sour
- 3.1-3.0: Extremely sour
- Less than 3.0: Will dissolve your teeth (joking). A pH and below 3.0 is for the hardcore sour ale drinker. Be sure to take your antacids.
If you are kettle souring, it is highly recommended to reduce the pH of your wort to 4.5 before letting your wort sit for a long period of time and boiling for the second time. You are limiting the types of bacteria that can thrive in wort by reducing the pH to 4.5. This will help keep the beer cleaner and keep unwanted critters from settling in. You can find lactic acid solutions (usually 88% by weight) at your local homebrew store. Just add small amount of this solution (start with 1 ml at a time) until your pH falls to 4.5. Then pitch your lactobacillus and you are ready to go.
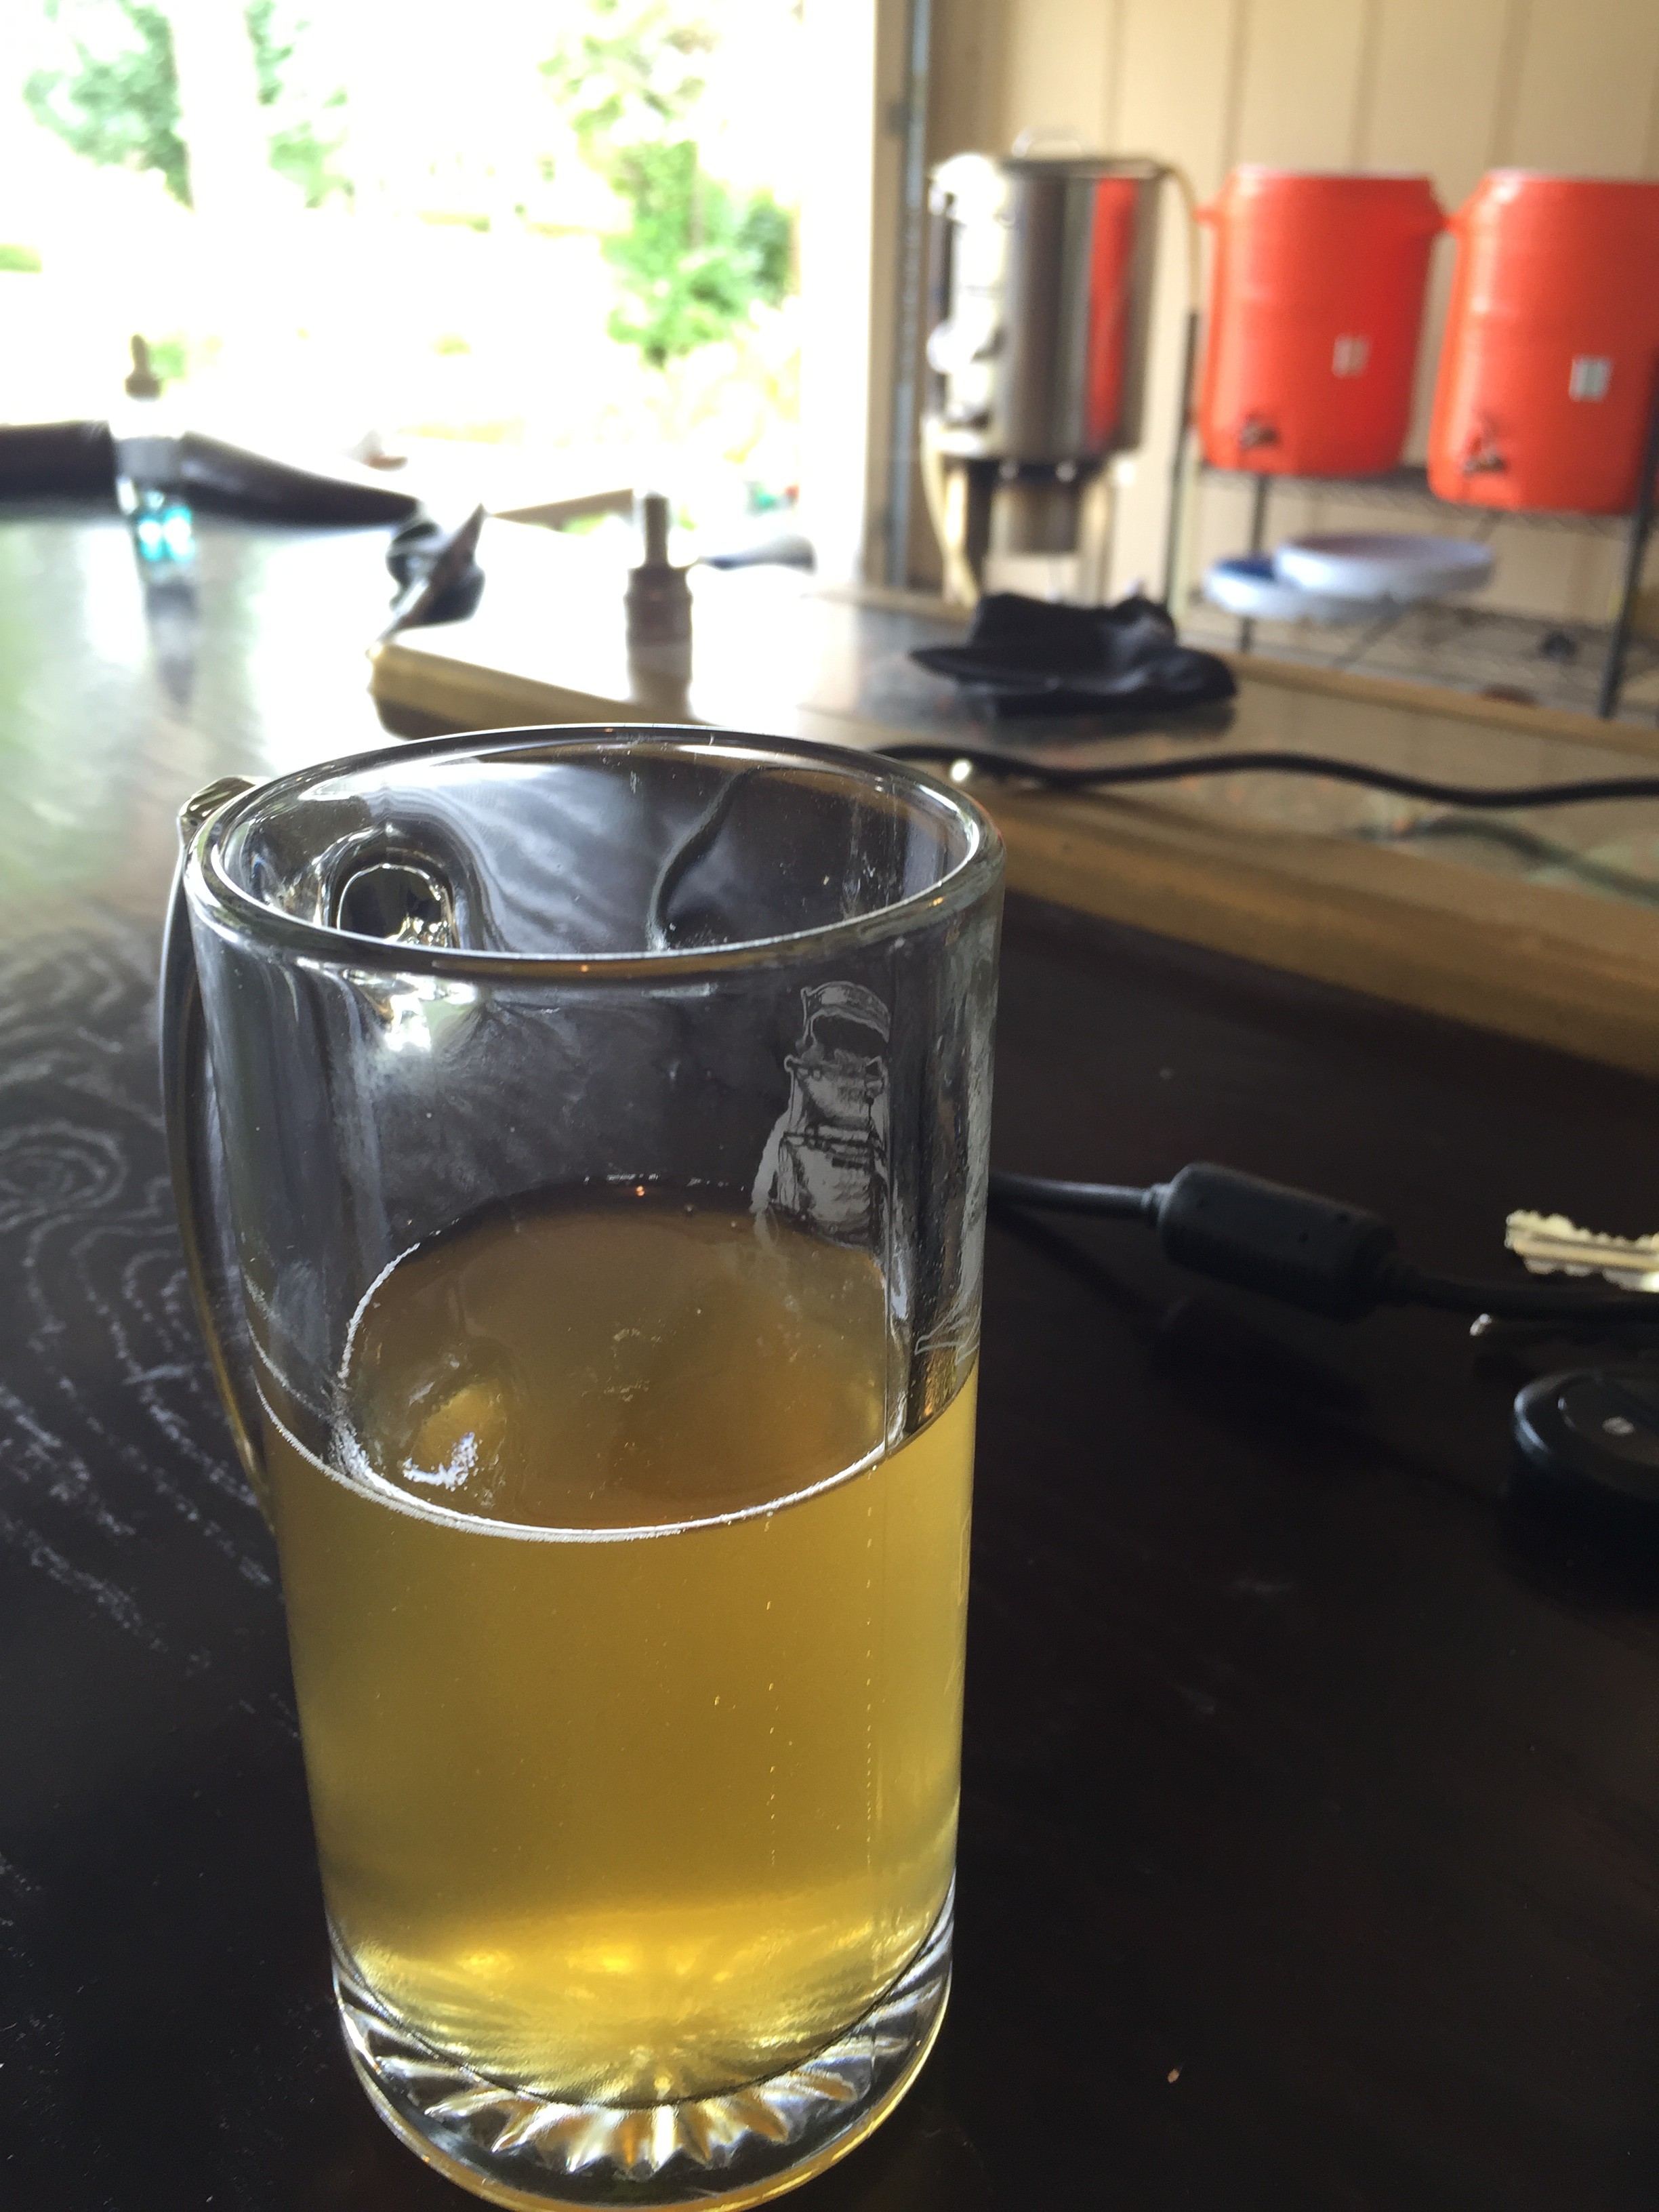
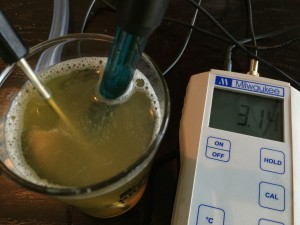
We have a particular method for checking the pH of our sour wort. (Note: we always remove samples of the wort and measure the pH of the removed sample. We never check the pH of the wort by sticking the probe into the fermenter, doing so is a pathway for cross contamination.) For our sour ales, we typically remove about 6-8 oz of wort from the fermenter and place it into a sanitized pint glass. For all intents and purposes, we assume the wort in the fermenter at this point is homogeneous and the removed sample is a good sample of the wort in the fermenter. We measure the pH of the sample in the pint glass. Rinse probe with water and stick it back into its storage container. Then cover the pint glass with plastic wrap and keep it next to the fermenter so they are maintained at the same temperature. Do not pour this sample back into the fermenter. When it comes time to check the pH of the wort again, We just remove the plastic wrap and measure the pH again in the pint glass. The pH of the wort in the pint glass should be the same as the wort in the fermenter.
Special Equipment
Lactobacillus likes to hide in all of nooks and crannies of brewing equipment. It’s important that you have a duplicate set of any equipment that is made of plastic (example: racking canes, bottling buckets, carboy caps, air locks, etc.). Lactobacillus can be extremely difficult if not impossible to remove from slightly scratched plastic surfaces. If you don’t want to keep separate pieces of equipment, use equipment that is made of stainless steel or can be safely boiled without damaging the specific piece of equipment. We have boiled pieces of equipment like carboy caps to pasteurize with good success.
Brewing A Berliner Weisse
O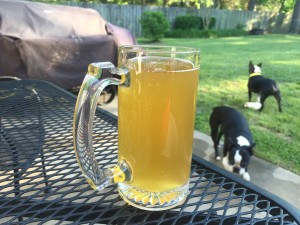 k, so we gave you a crash course on the basics of brewing a Berliner Weisse, so lets go through the whole process from start to finish real quick.
- You’ll need a wort that is around 1.030-1.035 OG that is roughly 50% continental pilsner and 50% white or red wheat. If you are an extract brewer, you’ll want to use a 50/50 mix of pilsner and wheat malt extracts.
- The boil
- If you are doing all-grain, boil for 90 minutes to drive off any dimethyl sulfide. If you’d like to experiment, you could look into doing a no-boil Berliner Weisse.
- If you are doing extract, bring your wort to a boil. You do not need to boil more than a few minutes.
- Chill your wort to 110° F.
- Carefully, without splashing, Transfer to a glass carboy or stainless fermenter. You can use a plastic bucket, but don’t use this bucket for anything other than Berliner Weisse or other quick sour ales and don’t leave it in there for more than a few weeks.
- Pitch Lactobacillus and maintain the fermentation temp above 90° F.
- After 6 hours, remove 6-8 oz from the fermenter (use a dedicated wine thief) and measure the pH.
- Check the pH every few hours. When the pH hits 3.5-3.6, move the beer to a cooler location so the beer can come to friendly ale fermentation temps. Assume the pH will fall to the desired 3.4-3.5 range during the cooling process.
- Once the beer has cooled to about 70° F, pitch your favorite ale yeast (WLP011 is the most traditional).
- Ferment for two weeks.
- Package as a normally fermented beer, but be sure to use your dedicated/separate sour ale transferring equipment.
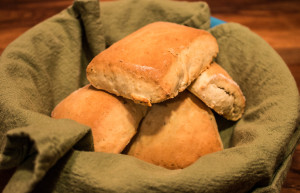 There isn’t a single traditional home in the south where biscuits aren’t a staple. We don’t make biscuits a lot in our house due to our busy schedules, but we do like to make them about once a week. This recipe is a quick cream biscuit recipe that can be easily whipped up in minutes. This minute is great on those nights you want a biscuit with your meal, but don’t want to spend a lot of time making them.
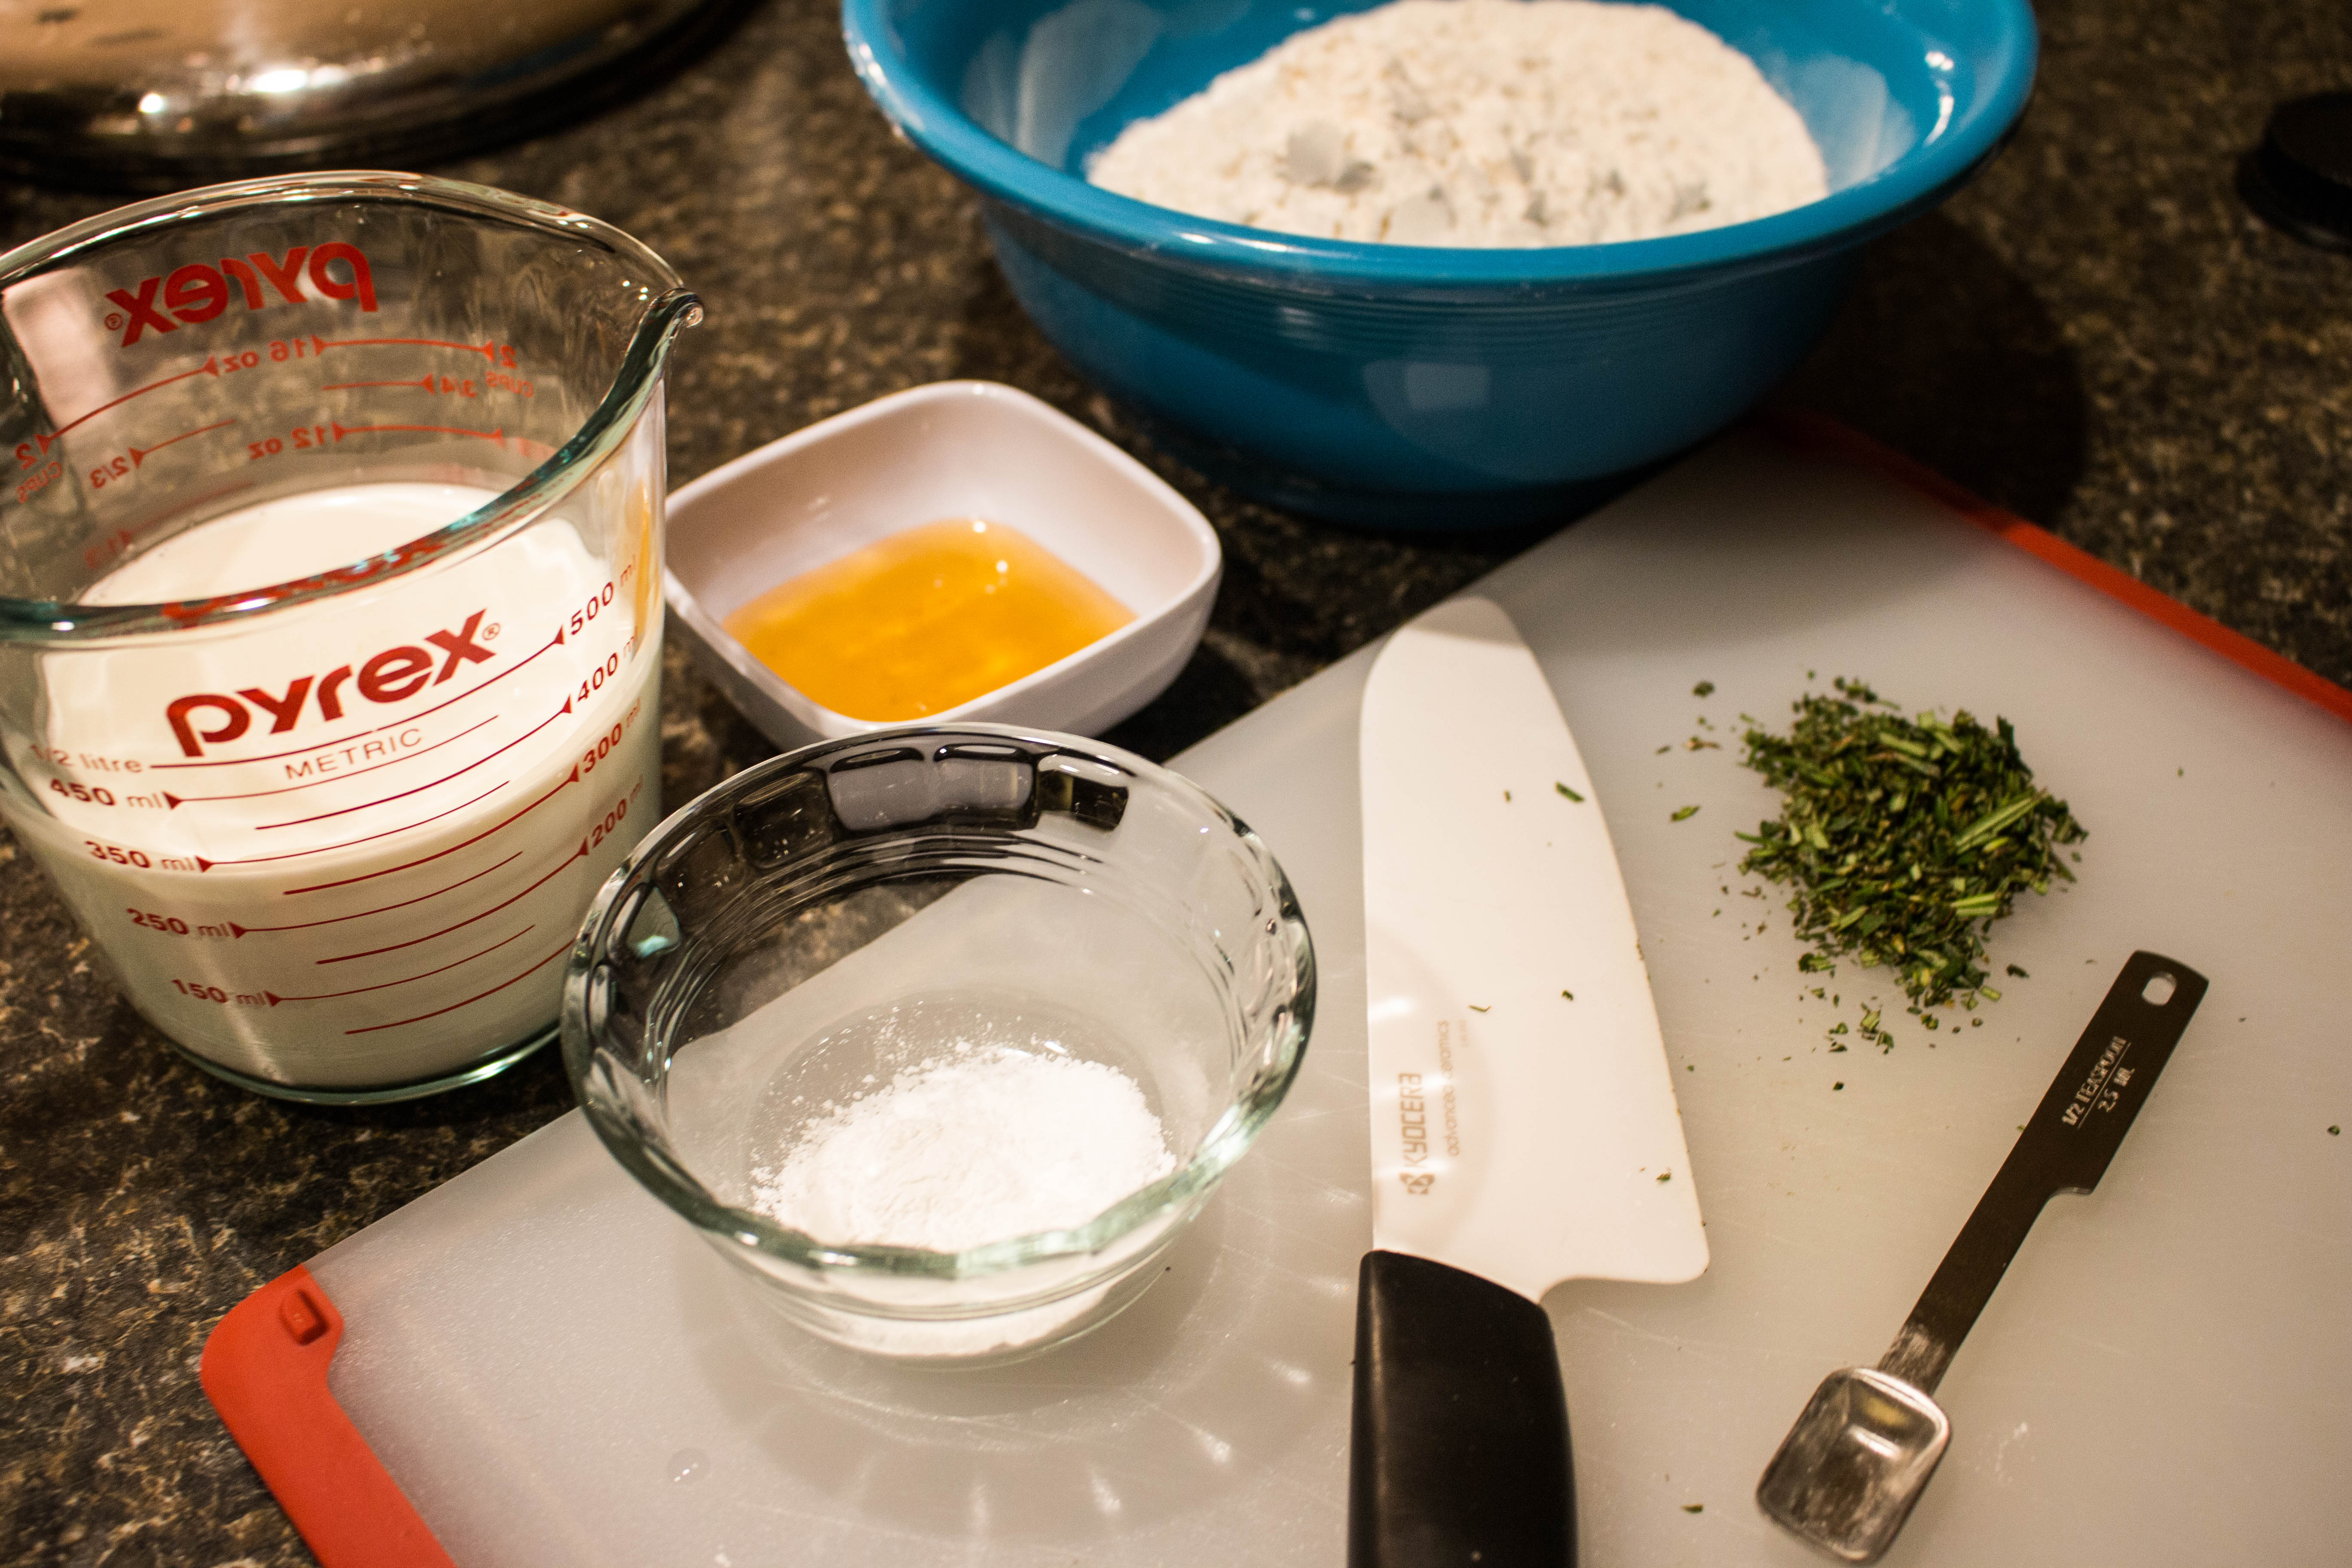
 The second method of measuring pH is using a pH meter. This is the preferred method of measuring pH. Meters can range in price from $15 to thousands of dollars. A $13 model can be found
 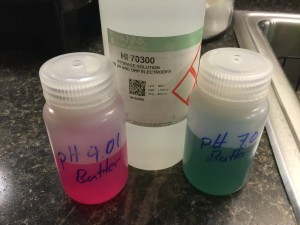 You will also need to purchase three (two if your pH meter only has a one-point calibration) different solutions to maintain your pH meter. The first one or two solutions you will need are called buffer solutions. These are used to calibrate your pH meter. Most pH meters will require at least a two-point calibration. Usually the pH meter will want to be calibrated with solutions with pHs at 4.0 and 7.0. Calibration
 rinse with water and place the probe back into its storage container.
 Berliner Wisses are one of my favorite styles of beer. They are tart, easy drinking, and the base beer is extremely easy to make. Based on the BJCP 2015 guidelines, a Berliner Wiesse is supposed to have a starting gravity around 1.030 and 5 IBUs of hops and composed primarily of wheat and pilsner malt in equal amounts.