 In this post, I am going to discuss my 10 gallon gas fired Blichmann BrewEasy Turnkey system. You are probably wondering why and the hell I even bought it. Well, I’ve been looking to upgrade my brew system to something more automated for some time now. Nailing my mash temperatures has something I’ve always kind of struggled with. I’m always within about two degrees, but I wanted more control and I wanted to be able to do step mashes as well.
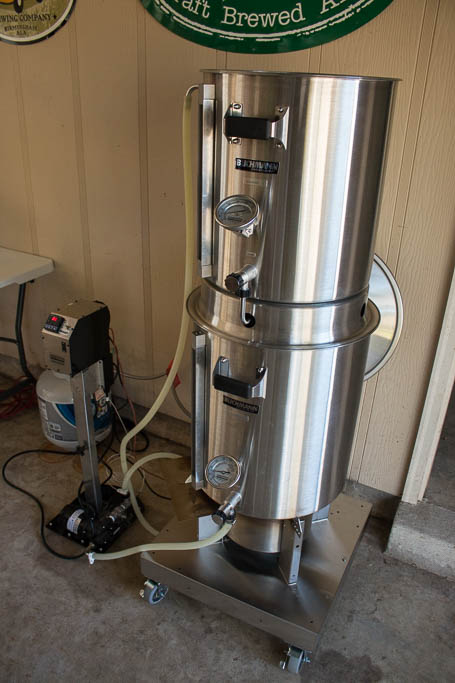
My decision to buy the BrewEasy is based primarily on how lazy I am. This also includes having to design a new system, build it, and then fix the bugs in it. So I wanted to be able to purchase something that was turnkey and would give me the control I wanted. After a lot of research, I settled on the Blichammn Breweasy. The biggest struggle I had when choosing my system was trying to decide on going electric or propane. I choose to go with propane because I like to drag my system around to brew at other locations besides my garage. This route also didn’t require me to have a 240 v GFCI circuit run out to my garage. A local electrician gave me a minor stroke when he wanted $1,600 to run the power I wanted to my garage. I decided to go with the 10 gallon system because it utilizes a 15 gallon mash tun. My previous 10 gallon mash tun was used at capacity pretty frequently, so I wanted something larger. The 15 gallon mash tun will also allow me to do very high gravity beers with 5 gallon batches. So anyway, let’s start discussing the specific components of the system.
Instructions and Assembly
First, when you order a BrewEasy, Blichmann sends you all of the individual components in separate boxes that are extremely well packed. Everything arrived in great shape. Each component comes with it’s own set of instructions, which may sound great, but can be rather cumbersome and confusing. The BrewEasy as a complete turnkey system does not come with its own instructions. Instead, you have to figure out how to piece together all of the components yourself. If I wasn’t an experienced brewer, I could see how putting together this system would be frustrating for some. In all, I had seven different sets of instructions to pull from. Annoying, but manageable.
BoilMakers Kettles
 I previously had a 20 gallon BoilMaker G1 kettle before upgrading to the BrewEasy that came with BoilMaker G2 kettles and the G2 kettles are just as great as the G1. The kettles look great, and I really like the new handle designs on the kettles. Like the G1, I think the G2 kettles are a great buy. I know a lot of people are going to disagree with me since other pots are available for much cheaper, but I have not been disappointed splurging on the G1 or G2 kettles. These kettles will last me a lifetime of homebrewing, and they look great!
My system came with a 20 gallon boil kettle and a 15 gallon mash ton. The large kettle sizes allow for flexibility in batch sizes. The mash ton and boil kettles are large enough for 15 gallon low-gravity or 5 gallon high-gravity batches. The 15 gallon mash ton was one of my primary reasons for buying this version of the BrewEasy.
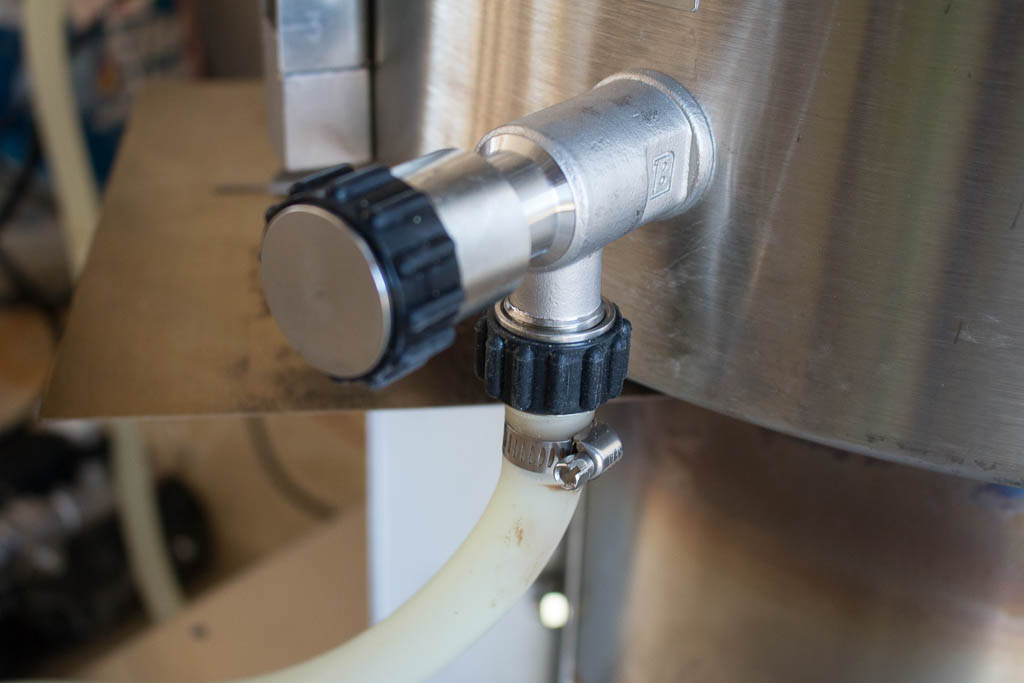
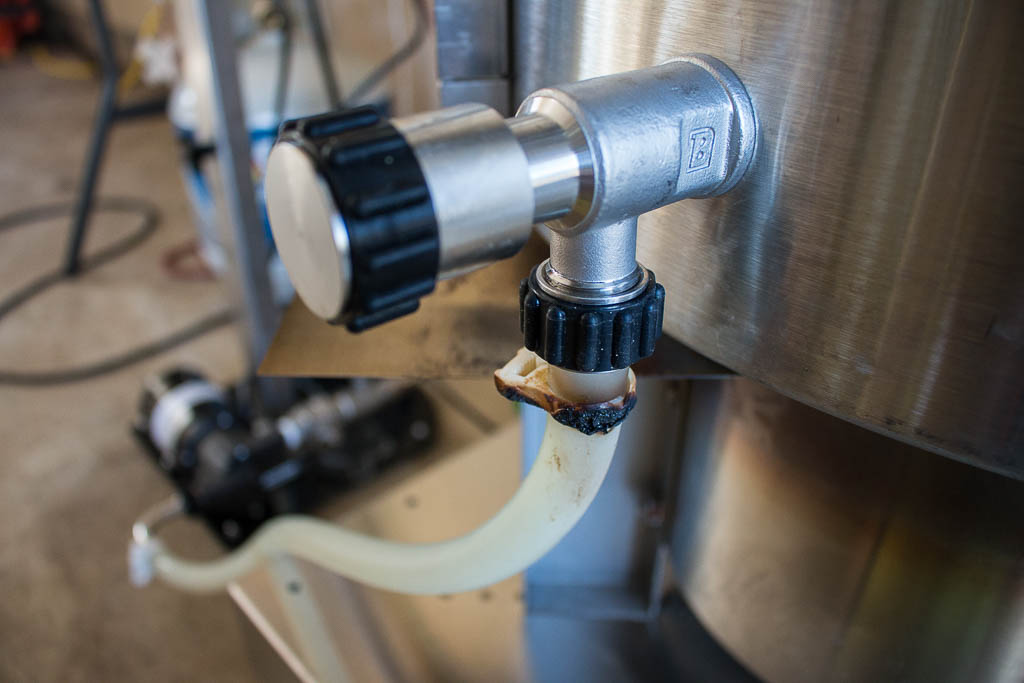
The G2 pots also come with newly designed linear flow valves. These valves are convenient for how the BrewEasy is configured. The knobs can be very easily removed to give you interior access of the valve for easy cleaning and they can be oriented to face a variety of directions. However, there are times I miss the beefy three-piece ball valves that come with G1 Kettles. I also miss having the option of having the fitting portion of the valve sticking straight out instead of pointing down or to the side. Overall I do like the design, but I wish there were options to opt for the original three-piece ball valves.
 The kettles also utilize the same sight glasses that were used on the G1 pots. These sight glasses are extremely helpful during brew day and Blichmann includes the tools so they can be easily cleaned at the end of brew day. The largest complaint I have about the sight glasses is that the numbers are hard to read in some lighting conditions. I wish the markings were painted or darkened somehow so they can be read more easily in all lighting conditions.
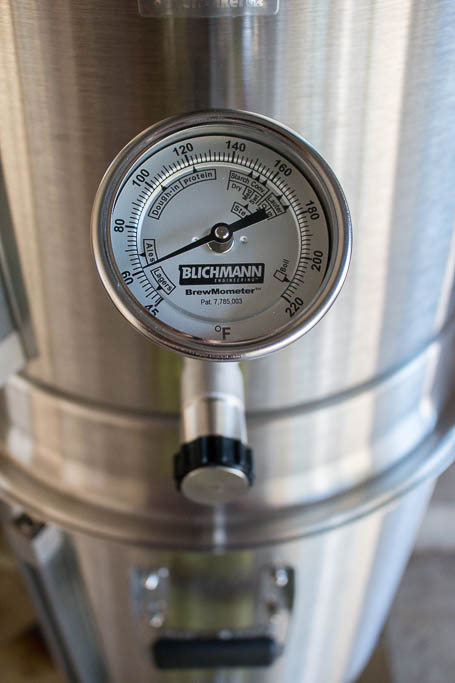 The pots also come with Blichmann’s BrewMometer which is fantastic. The faces are large and easy to read. They can be easily calibrated and the best part is that they can be oriented in just about any configuration you could ever imagine. The only drawback to these BrewMometers on the BoilMakers is their placement. If you are brewing or heating up 5-6 gallons, the BrewMometer won’t be touching the liquid. This is a very mild inconvenience at times, but I can understand why Blichmann chose to place them there from an aesthetic and functionality standpoint. If you have any BrewMometers, I highly recommend getting a hold of a very accurate thermometer and calibrating them. I had one BrewMometer that was off by about 3° F, but calibration was super easy. For my mash tun BrewMometer, I actually used a sous vide machine and a Thermapen to calibrate my BrewMometer to 152° F.
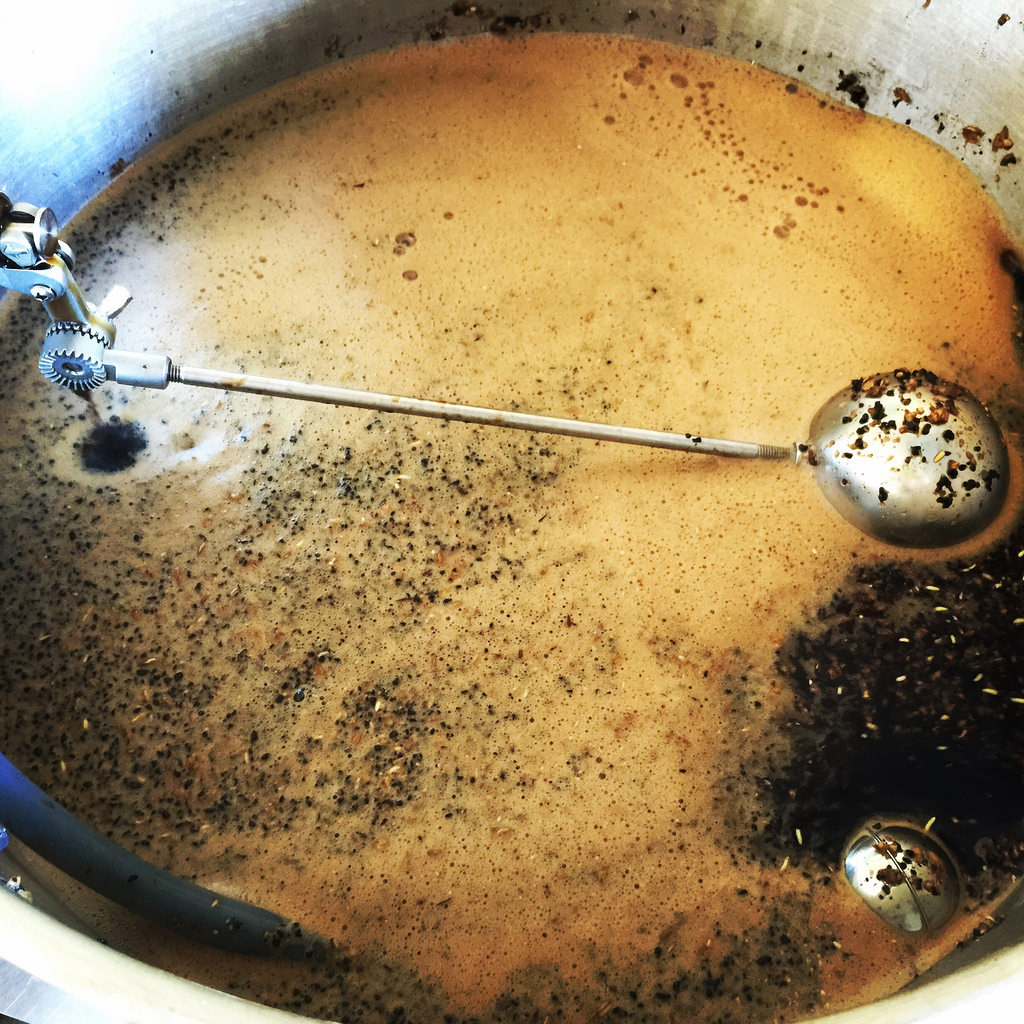 The mash tun is fitted with a Blichmann AutoSparge. The AutoSparge is designed to keep the mash tun from running dry when recirculating. The BrewEasy comes with a set of orifices for the mash tun drain to control the flow rate coming out of the mash tun. The AutoSpage and orifices work as advertised and keep the mash tun recirculating just fine. The biggest issue I have with the recirculation components is relying on the orfaces to control flow. Yes, I can use the linear flow valves to control the flow, but I have no idea what my float rate is without a flow meter or some kind of rotameter. The set of orifices come in different sizes and which size you use depends on the size of your mash. Anyways, these orifices are small and can be easily dropped and lost. If I lose the orifice I need, I’ll have to buy a whole new set for $8. I’m not a fan of a $2,300 system relying on a $1 piece of plastic that can be easily lost.
Another thing to mention about the AutoSparge is that the AutoSparge rod that came with the system was too small for 5 gallon batches or very low gravity 10 gallon batches. I ended up buying the 9 inch extension rod for the AutoSparge to increase the flexibility of my mash tun.
Burners
I am not going to spend a lot of time discussing the burner that came with the BrewEasy. Blichmann burners are top notch, well made, and look great as well. This is another piece of equipment that will last a homebrewer a life time. These burners are so sturdy I have never had a concern for weight, with or without the leg extenders. If you’re looking for a new burner alone, a Blichmann burner is an easy decision.
Tower of Power LTE Stand
The LTE stand comes with the stand, pump, ball valve, and temperature sensor port. Overall the stand is functional, but I did find this to be one of the more disappointing aspects of the BrewEasy. It is very easy to assemble and everything fits together fine. The stand overall works well and looks great. The support bar that holds up the temperature control module feels a little flimsy, but is functional.
The LTE stand comes with a March 815 pump which works exceptionally well for the most part. My issue with the pump that comes with the system is the polysulfone head. I wish the BrewEasy came with a stainless head. The generic stainless ball valve that comes with the stand is also a bit disappointing. Like I mentioned earlier, Blichmann hardware use to come with very sturdy three-piece ball valves that can be disassembled for cleaning, but for the LTE stand I’m guessing they opted to use the cheaper generic ball valves to save a few dollars.
Tower of Power Temp. Control Module
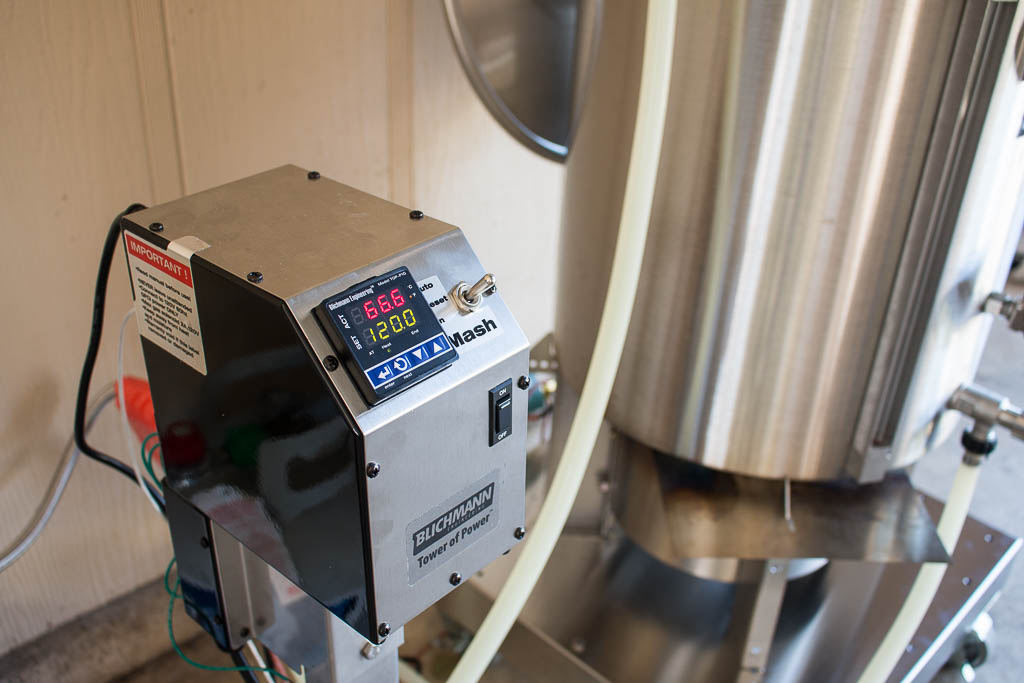 The control module is the heart of the brewing system. First, it looks great and works very well. The sensor for the control module is located just after the ball valve on the LTE stand. So naturally you are going to get a little bit of a temperature drop between the sensor and your mash tun. I never rely on the temperature on the controller to be my actual mash temperature. I rely on the BrewMometer on my mash tun. The temperature drop can range anywhere from 2-5 degrees, depending on how cold it is during brew day. For example, most brew days I need to set my controller to 154° F to maintain 152° F in the mash tun. Once I get things dialed in, my temperatures are rock solid. Step mashes on this system are also ridiculously easy.
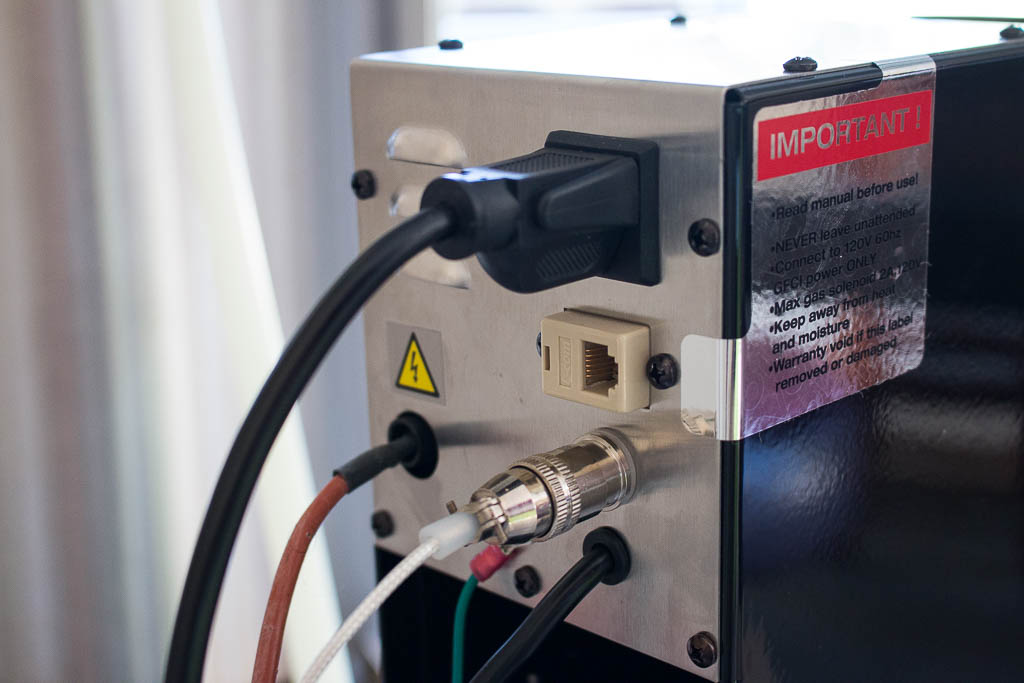 When I first put together the system I did have a few issues with the control module. First, the connection on the back of the control module is a little loose and rotates. The biggest issue I had with the controller was the cable that I received to connect the controller to the temperature probe was faulty. I must have received a bad cable because my cable would lose connectivity at times and the system would cease to function and read improper temperatures. I have included crappy videos (taken with my iPhone) of both issues below.
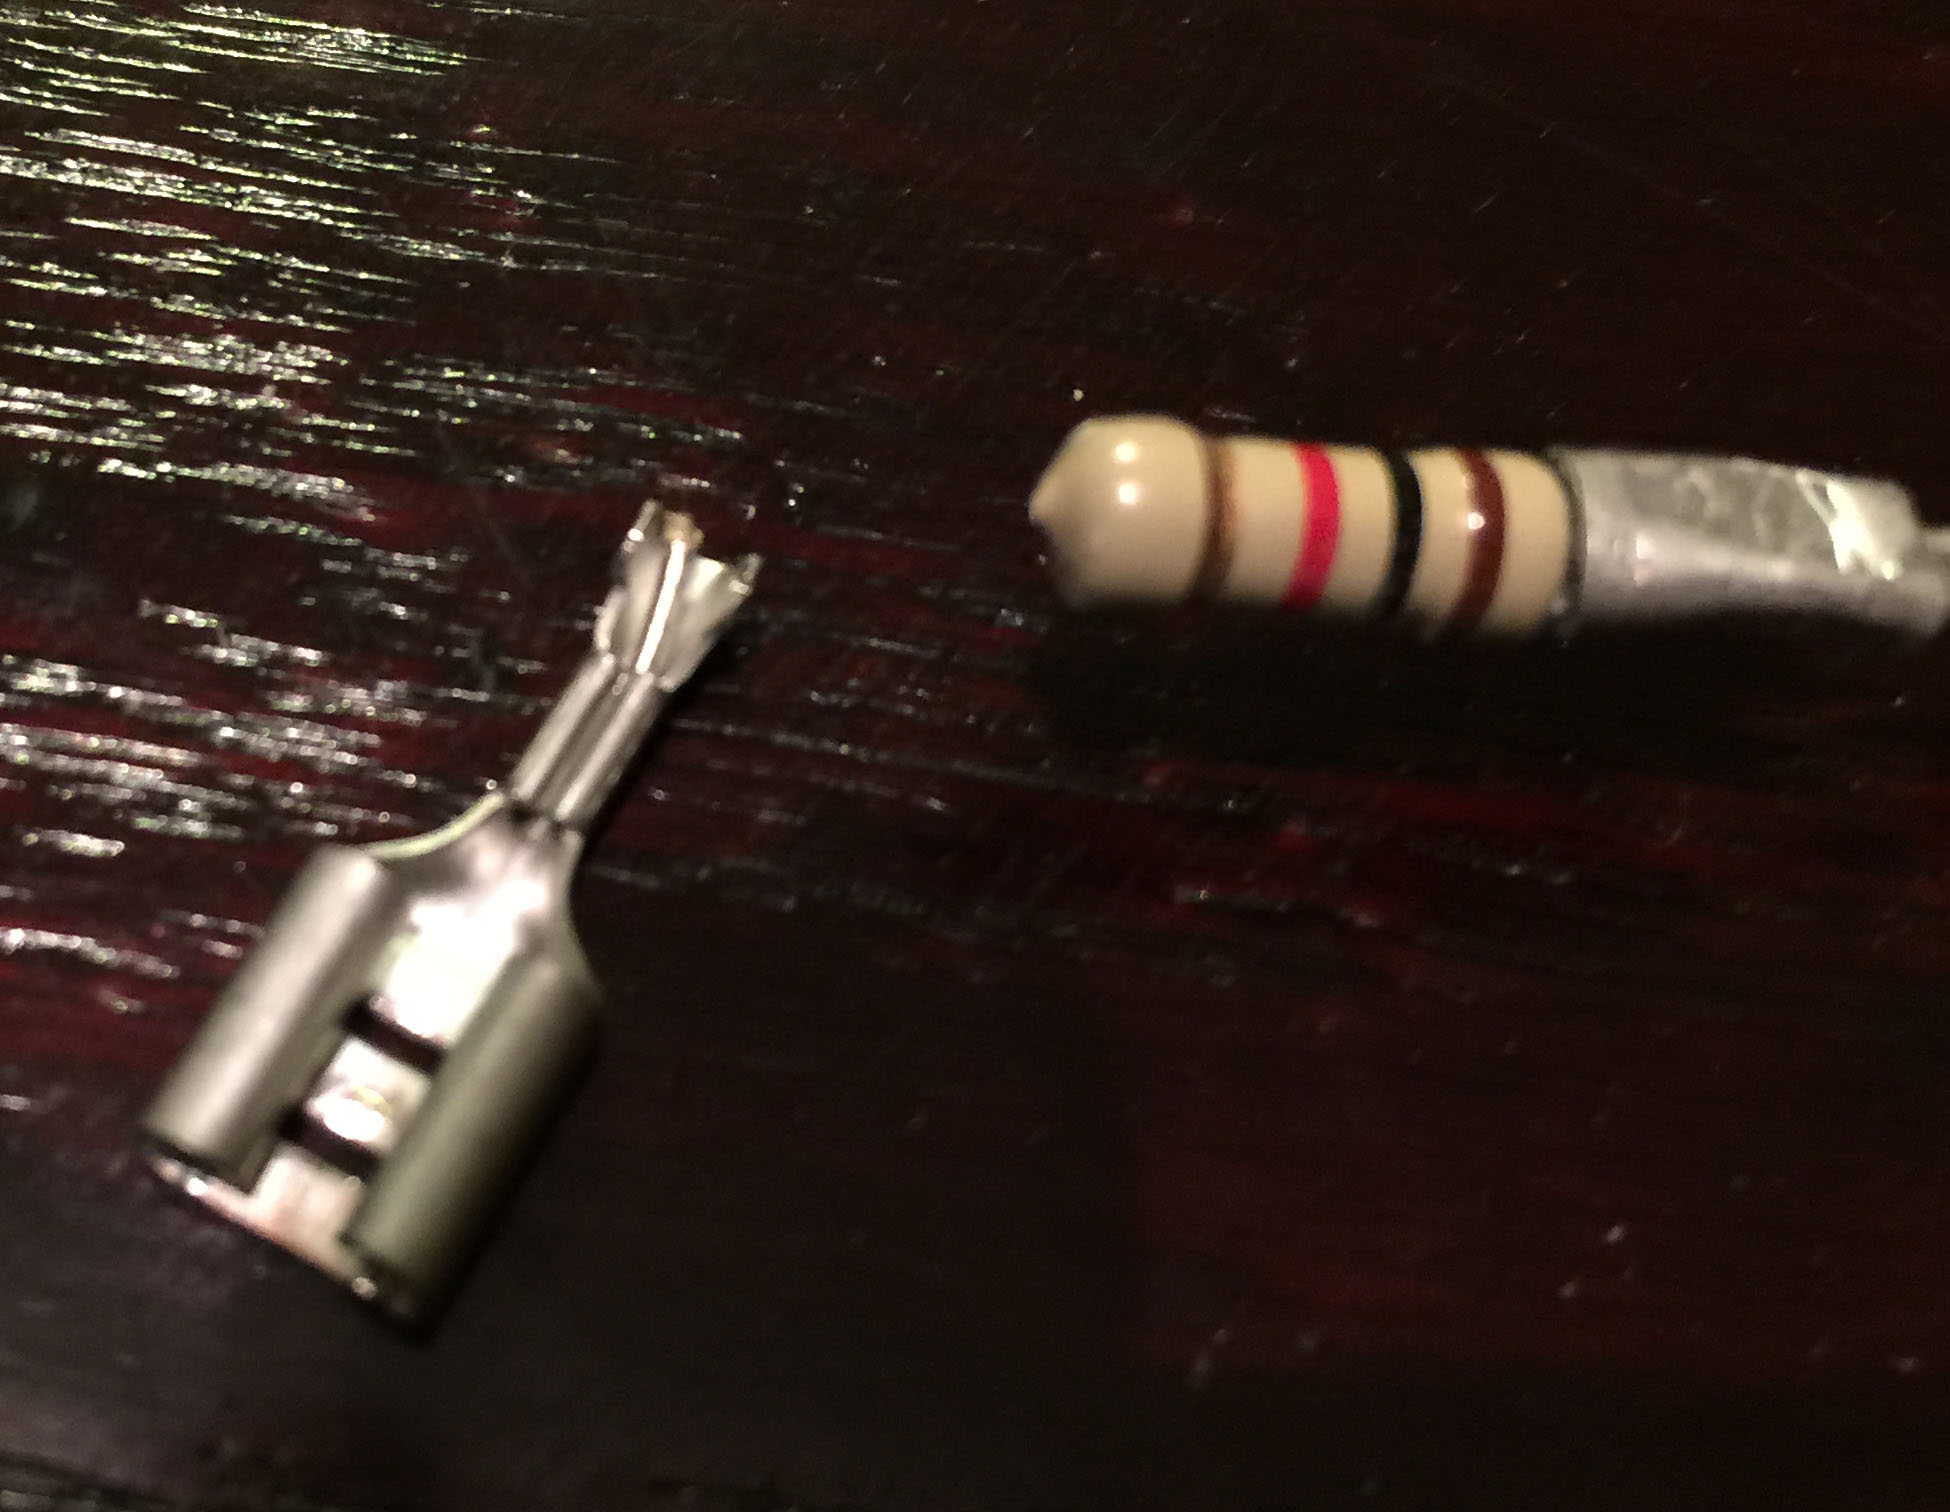 During the construction of the system, I managed to break the cable that connects the igniter on the burner to the control module. Apparently there is a resistor connected directly to the connector that connects the wire to the igniter. I had bent the wire at the plug, bent it back, and then tried to pull the connector off the igniter. It was so tight it required some force and apparently I broke the wire exiting the resistor where I had created the bend. There was heat shrink over this resistor, so I was not aware it was there. If you have any experience with resistors, you know those wires can break after having been bent a few times. Placing the resisto in the igniter I think is a bit of a design flaw. First, the connector should have never been directly attached to the resistor wire like that in the first place, especially on a system that may get moved around a lot. Second, that resistor could have been easily wired into the plug at the back of the temperature control module. I contacted MoreBeer, where I ordered my system from, and they had Blichmann send me replacements. I was however able to repair the ignition cable on my own before Blichmann was able to send me a replacement, but it was still a tad frustrating.
Overall, the control module works great. However, for the price point of the BrewEasy, I think Blichmann needs to up their quality control a little bit. The issue with the lose port and bad cable should have been caught by someone before the unit was shipped. I take partial responsibility for breaking the ignition wire, but I think the resistor should have been better located inside of the module.
The KettleKart
The KettleKart looks great and makes the BrewEasy look even more impressive, but that’s about as far as I can go about saying anything positive about the KettleKart. The KettleKart is truely the one piece of Blichmann hardware that I have bought that I have been extremely disappointed with. First, the KettleKart is not part of the BrewEasy system and is sold separate. This information is in fine print on just about every single website where you can buy the BrewEasy, though most websites display a photograph of the system with the KettleKart. When I bought my system, I was shocked to find out it wasn’t included because it wasn’t in any of my boxes. I checked MoreBeer’s website and sure enough, the last line of the description it says the KettleKart is not included. So this is my fault for not reading every single line of their description, but at the same time I think it shouldn’t have been included in the photograph of the system to begin with.
Ok, so the biggest issue with the KettleKart is that it is not sturdy enough when performing a mash. Before my first brew with the KettleKart I decided to do a dry run and see how well it holds up to the weight of water being in the mash tun and kettle. Well, I first noticed that the system sways terribly. The system sways so badly that it’s impossible to measure the amount of water using the sight glasses because liquid in both kettles slosh back in forth. I spent a good portion of an evening trying to figure out where the issue was coming from. Was it coming from the burner? Was it coming from lose bolts? Was it coming from uneven wheels on the KettleKart? I eventually decided to take the entire BrewEasy system off the KettleKart, place it on the ground, and see how it handled the weight. Guess what, no swaying. I have concluded that the KettleKart just can’t handle the amount of weight to be functional during a mash. Simply just touching anything on the system causes the whole system to sway like an inverse pendulum. I’d hate to see how much the thing sways when trying to dough in.
Other Components
The Blichmann BrewEasy comes with Blichmann’s own version of the quick connects which they call QuickConnectors. First, there is nothing quick about these connectors. In fact, I would wager these are the slowest “quick” connector options in the hombrewing hobby. I jokingly call these SlowAsF&%K Connectors. If anything, Blichmann should be calling these ConvenientConnectors because they will literally screw onto any male 1/2 inch NPT connection, which is what Blichmann is using for its linear flow valves and other accessories. However, my issue is that these are frustrating to use if you are switching connections at any point during your brew day. For example, I switch out the tubing leaving the ball valve attached to the pump to a much longer tubing that I use to drain boil kettle when cleaning my kettle. This requires me to unscrew the QuickConnector and screw on another QuickConnector on my longer tube. This connector is also used to attach the mash tun to the ball valve on the pump. Anyway, I have every intention of replacing these connectors with more quick like ball lock, camlock, or triclover connectors; all of which are much more quick to use than the QuickConnectors.
The BrewEasy also comes with a few feet of silicon tubing. It comes with just enough to make all of the connections you need to make the system functional. I ended up buying more silicon tubing so I can have more flexibility in where my components actually sit relative to each other.
 Blichmann also provides snapper hose clamps to securely attach their tubing to their QuickConnectors. In applications where high temperature is not a concern, these work wonderfully and are extremely easy to use. However, you are required to use one on the valve on your BrewKettle, which also happens to be pretty close to your burner. When I first installed this clamp I told myself, “this clamp is only going to last two brew days before I have to replace it with a standard metal hose clamp.” Sure enough, after the second breday, it was burned to a crisp. I am not sure why Blichmann opted to not include at least one standard hose clamp that can tolerate the amount of heat at the valve during a boil.
Performance
Does the BrewEasy perform as advertised? Yep, it sure does. However, you do need to realize there will be some temperature loss between the temperature sensor and the mash tun. That’s inevitable. Locating the probe into the mash tun and you have a very high probability of over shooting your desired temperatures because of the lag time required for the newly heated wort flowing through the grain bed to eventually reach the probe. You also need to expect mash efficiencies around the same values as those who do brewing in a bag. From my research, I have seen people getting on average of around 70% efficiency on this system. Apparently to this very long post on Homebrew Talk and my experience, water chemistry and your volumes play critical roles in your mash efficiency. I highly recommend picking up a copy of John Palmer and Collin Kaminski’s book Water and learn how to make adjustments to your water chemistry. A pH meter will also be a huge help. With adjusting my water I have seen efficiencies north of 80%.
Overall Impression
Overall, I am happy with how the BrewEasy performs. Most components are very well made, function as advertised, look great, and the system takes up almost half the amount of space as my previous brew system. However, I do find that there are some quality control issues that distract from my overall experience with system. First, the lose cable connection on the back of the temperature control system should have been caught by someone in QC. Second, the design or the decision to use lower quality components over slightly higher quality components has also distracted from my overall opinion of the system. When people think of Blichmann, they usually think of top-end brewing systems, at least I use to. The decision to save a few dollars than to use slightly higher quality parts (like the three piece ball valve in place of the standard ball valve on the LTE stand or polysulfone pump head over stainless for example) has, in my opinion, slightly cheapened the overall impression.
 Knowing what I know now, would I buy the entire system again? Probably not. Would I recommend the BrewEasy to someone else? Maybe. It really depends on what they wanted, but I’d explain to them everything I have learned brewing on this system and writing this post. If they are a home brewer with some money to burn, didn’t want to design their own system, and could over look some of the system’s short comings, then I’d recommend the system to them.
There are some components I really do like that I would highly recommend to other brewers, the kettles and burners for examples. My previous system was a single tier system with a 20 gallon boil kettle, 10 gallon mash ton, and 10 gallon hot liquor tank. Knowing what I know now, I would have simply replaced my mash ton with a 15 gallon G2 kettle with a false bottom, a second Blichmann Burner, temperature control module with sensor, and all of the fittings and valves I’d prefer to use. This would have given me the full control of my mash, keep my efficiencies roughly where my old system use to perform, my overall brewing procedure wouldn’t have to changed much, I wouldn’t have had to readjust all of recipes, and I’d be able to use exactly the hardware I’d prefer to use. I honestly could have upgraded to this setup for under $1,400 and gotten everything I wanted out of my setup, including the additional benefit of having a much large mash tun. Anyways, I guess we live and we learn.


I have messed with my water for over 6 months now and can’t seem to get over 70% efficiency! Any other suggestions?
Check your crush, dough in and mix thoroughly!
Take periodic gravity readings during mash, and mash a little longer if not fully converted.