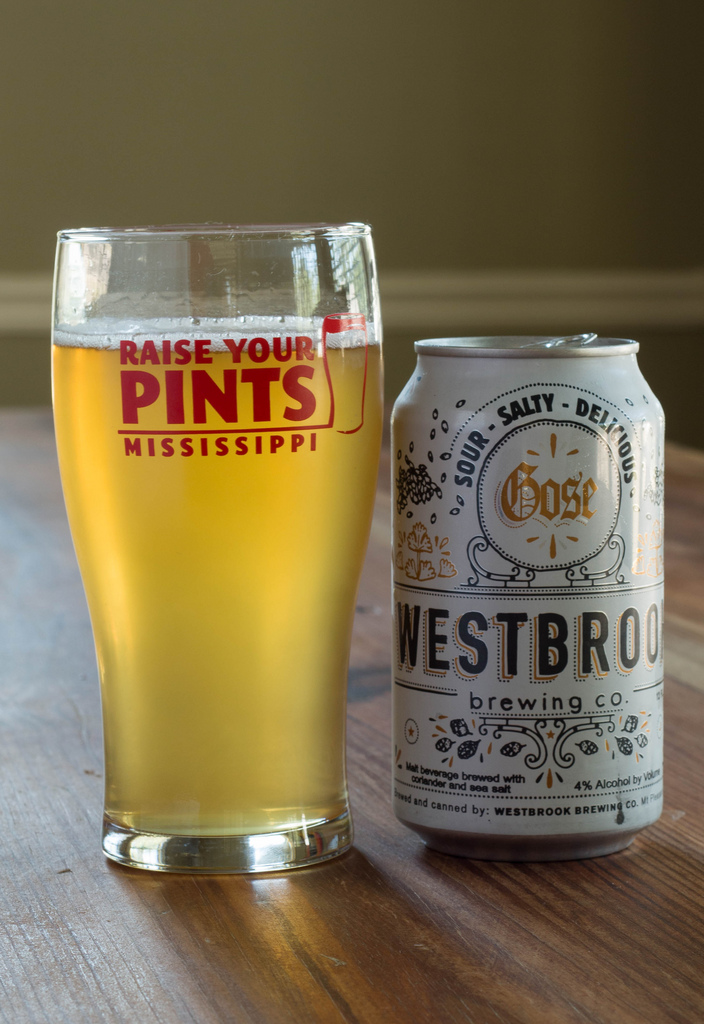
Entry: 001 Judge: Ron Unz BJCP ID: F0711 Rank: Certified Beer Name: Westbrook Gose Category: 27 – Historical Beer: Gose Special Ingredients: None Bottle Inspection: Ok. Comments: None
Aroma: 8/12
Moderate sour aroma. Low bread crust-like aroma. Low coriander. Low levels of floral notes. No hops. No esters. No diacetyl.
Appearance: 2/3
Hay in color. Hazy, but ok for style. White heat with large bubbles. Poor head retention.
Flavor: 14/20
Moderate-high sourness. Moderate-low levels of salt. Almost reminds me of salted buttermilk. Moderate-low bread and bread crust malt flavor. No hops. Low bitterness. Very low levels of coriander. Balance is dry. Sourness follows long into the finish. Sourness comes off like lemon juice.
Mouthfeel: 4/5
Moderate-low body. Moderate-high carbonation. Sourness make my jaw clench. Heartburn is also felt.
Overall Impression: 8/10
Great beer, but the sourness is almost too intense for the style. The sourness is so intense it is masking the malt and coriander. Back off a little on what ever method is used to sour. I would also like to see a bit more coriander in the flavor and aroma. It’s a little too low for style. Other wise, this is a great summer ale.
There isn’t a single traditional home in the south where biscuits aren’t a staple. We don’t make biscuits a lot in our house due to our busy schedules, but we do like to make them about once a week. This recipe is a quick cream biscuit recipe that can be easily whipped up in minutes. This minute is great on those nights you want a biscuit with your meal, but don’t want to spend a lot of time making them.
Whisk together the rosemary, flour, salt, and baking powder in a large bowl.
Add the heavy cream and honey.
Mix with a spoon until just about everything is roughly incorporated.
Flour a flat working surface.
Place the dough on the work surface and kneed the dough until everything looks uniform.
Roll the dough out until about 3/8 of an inch thick.
Cut out the biscuits in any shape you want. I tend to just free style them. You just want them rought all the same size so they cook evenly.
Place the biscuits on a greased baking sheet.
Bake for 18-20 minutes.
Place the biscuits on a cooling rack and then consume.
These biscuits are super easy and super delicious. If you don’t want the rosemary in the biscuits, then take it out. The biscuits will still be delicious. I absolutely love making these to have with my biscuits and gravy. The rosemary compliments sawmill gravy so well.
The pH during the brewing process can be pretty important, especially if you are interested in repeatability. One of the most common applications for the use of a pH meter is during the mash. Having the mash pH in the appropriate range can greatly increase your mash efficiency. A pH meter is also very hand while brewing a sour ale, making a sour wort, or even a sour mash. A pH meter is a device that essentially measures the hydrogen concentration of a solution. The lower the pH, the more acidic the solution is.
Devices for Measuring pH
In homebrewing, there are two primary methods for measuring pH. The first method utilizes pH strips that require estimating the color of the strips after its dipped into the wort or whatever solution you want to know the pH of. These strips are not very accurate and require you interpret and extrapolate the colors on the bottle or chart that came with the strips. The color of the wort can also interfere with interpreting the color on the strip. I do not recommend these strips being used in a homebrewery.
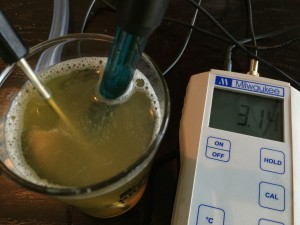
The second method of measuring pH is using a pH meter. This is the preferred method of measuring pH. Meters can range in price from $15 to thousands of dollars. A $13 model can be found here, but reviews among the homebrewing community are that these can act a bit wonky at times. Two highly recommended pH meters in the brewing and wine making circles are the Milwaukee MW101 or MW102 pH meters. I would recommend the MW102 model because it comes with a thermometer and has built in automatic temperature compensation (ATC). Inexpensive pH meters require the solutions to be at room temperature before measuring the pH. Measuring the pH of a solution is temperature dependent, so having ATC is useful at elevated temperatures, like in the mash.
A third method for measuring pH has recently come to the hombrewing market. This devices has typically been reserved for laboratory. The third method is using a colorimeter or photometer system. This devices requires you to add a small amount of the liquid you wanted tested into a small chamber and then adding a small amount of reactive chemicals. The colorimeter or photometer then measures the color of the solution to determine its pH. These devices are usually very expensive, but can also perform a large range of tests beyond measuring pH. A homebrew photometer system can be picked up for about $300 from Industrial Test System. However, these systems aren’t very useful for solutions that aren’t clear, have color, or contain particulate matter, such as a wort or grist. These devices are most useful for measuring your water chemistry.
PH Meter Maintenance and Care
You will also need to purchase three (two if your pH meter only has a one-point calibration) different solutions to maintain your pH meter. The first one or two solutions you will need are called buffer solutions. These are used to calibrate your pH meter. Most pH meters will require at least a two-point calibration. Usually the pH meter will want to be calibrated with solutions with pHs at 4.0 and 7.0. Calibration buffer solutions are relatively inexpensive and will last a homebrewer a relatively long time. Carefully read the instructions that came with your meter to learn how to perform the appropriate calibration procedure. Note: The buffer solutions can also be used as a quality control check on how well your pH meter is functioning.
The third solution is for maintaining the functionality of your pH probe. The probe on a pH meter is a sensitive glass probe . The probe of a pH meter is usually constructed of a thin special glass membrane and there is a conductive fluid inside the pH probe. This probe can easily dry out if the pH probe is not kept in a storage solution. Storage solutions (usually a potassium chloride solution) are relatively inexpensive, and like the buffer solutions, should last a very long time. You don’t need much solutions at any given time. All meters will come with a method for keeping the probe submerged in the storage solution. Usually a cap or small container is filled with the storage solution and the probe screws directly into the container. You want to keep the probe moist during storage. You can use the buffer solutions in place of the storage solution if you are in a pinch. Tap water can also be used, but a normal storage solution or buffer solution would be better. Do not use distilled water as a storage solution as this could permanently damage the probe.
When you are done using your probe, it’s important to rinse the probe. Any material clinging to the probe can easily be transferred to your storage solution. Over a long period of time this could interfere with your probes functionality. I always rinse my probe immediately after using it. I rinse with tap or distilled water.
Over time, there is the possibility of the probe getting gunky. You will be sticking it in some sticky and protein rich solutions, so it’s good to give your probe a good cleaning every now and then. A dirty probe can give very slow or erratic readings. Soaking probes in new clean storage or buffer solution is sometimes enough, but sometimes you’ll need something a bit stronger to get them clean. For a deeper cleaning, procure some 0.1 M hydrochloric acid and soak the probe for about 15 minutes and rinse with water. If your probe is very dirty, you can try to soak the probe in water with a tiny bit of dish soap and then use a soft bristled toothbrush to try and brush any contaminants away. If these methods do not resolve problems with the probe, you might want to consider purchasing a new probe. Also, be sure to rinse out your storage containers occasionally.
Measuring pH
There are several times during the brewing process where knowing the pH is useful. The primary process where pH is most important is during the mash. Mash pH should range from 5.0 to 5.8 with a sweet spot of 5.2-5.4, depending on who you ask and which source you reference. To measure the mash pH, remove the probe from the storage container and stick it in the mash. If your pH meter has a separate thermometer for ATC, put it in the mash close to the pH probe. Push the tip of the probe about 2 inches below the surface of the mash. You will see the pH reading drop and eventually reach a value where the reading does not change. Most pH meters have an indicator telling the user when the pH reading has stabilized. If your probe doesn’t have a stabilization indicator, you are pretty close to stabilization when the displayed number on your pH meter hasn’t changed after about 5 seconds. Once you have measured your pH, remove the probe and immediately rinse with water and place the probe back into its storage container.
Most pH meters provide two decimal points on the readout. I never use the second decimal point. I have found that sticking with the first decimal point and rounding to the nearest 0.1 pH has been more than adequate.
The process of checking your pH anywhere else in the brewing process is the same. Place the probe in the solution your are testing, wait for it to stabilize, remove, and rinse. It’s that easy! If you are measuring post-boiled wort or beer, I would recommend removing a sample from the fermenter or keg before taking a reading. Never stick the probe into your fermenters or kegs. pH probes can be a source of cross contamination if you are not careful, so it’s better to remove a sample and measure the pH of the sample.
I hope you have enjoyed this post. If you have any questions of feel that I have missed something important, please comment below. I would love to have some feed back.
Berliner Wisses are one of my favorite styles of beer. They are tart, easy drinking, and the base beer is extremely easy to make. Based on the BJCP 2015 guidelines, a Berliner Wiesse is supposed to have a starting gravity around 1.030 and 5 IBUs of hops and composed primarily of wheat and pilsner malt in equal amounts.
The hard part about brewing a brewing a Berliner Weisse is working with lactobacillus. My first four or five trials using lactobacillus and Berliner Weisse blends from white labs did not turn out like I wanted, even after several month of aging. The big problem was that my beers would never get sour. After a year, one managed to get a little tart, but it had too much of an acetic acid quality because I let my airlock dry out. I even tried an all lactobacillus beer once. I wrapped it in a heating pad for over a month. It grew mold before it fermented out.
For a while I gave up on trying to use lactobacillus in my Berliner Weisses. I got tired of fighting with the beers not getting sour, no matter what I tried. Then earlier this year, we got a chance to have Michael Tonsmeire do a Skype call with our local homebrew club. I mentioned my problem to him and he pointed out that a lot of people haven’t had good luck with the strains I have been using. He recommend a specific strain of lactobacillus: lactobacillus brevis.
After doing some research, brevis wasn’t used in any of the white labs Berliner Weisse blends I was using. White lab typical uses lactobacillus delbrueckii (WLP677) in their blends and is the strain I have used previously. I decided to hunt down some brevis (WLP672) and give it a whirl.
Brevis and Butthead
SG: 1.030
FG: 1.005
ABV: 3.3%
IBU: 0
Batch Size: 12 gallons
Mash Efficiency: 70%
Grain Bill
7 lbs – Continental Pilsner Malt – 50%
7 lbs – What Malt – 50%
Hops
None
Yeast
Lactobacillus Brevis (WLP672) – two vials
European Ale Yeast (WLP011) – two vials
Brewday
I mashed in around 148. Due to the lower mash temp, decided to mash for 90 minutes. Mashed in with ~4.4 gallons of water. I do not remember my strike water temperature. I have been using the Green Bay Racker’s calculator, but it hasn’t been accurate for me lately. Sparged with 7 gallons around 170 degrees F.
Hit 70% efficiency.
Topped off to 15 gallons. Assuming 2 gallons/hour boil off and I am performing a 90 minute boil to drive off DMS.
Final volume 12 gallons.
IMPORTANT: These next steps I believe are critical for the Berliner Weisse. I chilled wort to 100 degrees F. Transfer to two class carboys (I don’t recommend using buckets because lactobacillus can get stuck in even the tiniest scratches. )
While wort was still warm, I pitched the lactobacillus. One vial in each batch. Kept carboys warm (above 90 degrees F) by leaving them in my hot garage. Left carboys in my garage for about 20 hours. Brought them into the house to let them cool off to normal pitching temps.
When the two batches of wort came down to pitching temps, I pitched WLP011 into both carboys. I did not oxygenate like I normally would. I was afraid of introducing oxygen with lactobacillus being in the wort already.
Put both carboys into fermentation chamber.
48 Hours after Brew Day
No sign of fermentation.
1 Week after Brew Day
Still no sign of fermentation
2 Week after Brew Day
Still no sign of fermenation. Decided to take a taste sample. Holy crap was this beer good. It’s very tart. Like holy cow tart. I got a ton of other fruity flavors. Lemon. Orange. I decided to keg one of the batches now. It’s pretty dry. I don’t have my finishing hydrometer to measure the FG, but it tastes pretty dry. Based on the lack of fermentation, I am curious if this went through an all lactobacillus fermentation.
7/11/15
Tasting notes. This beer is excelent. The flavor hasn’t changed much since I kegged it. It’s still extremely tart. Like tooth dissolving tart. Next time, I might go with only 12 hours of letting the lactobacillus do it’s thing before pitching WLP011.
10/22/2015
I have brewed this beer one more time since the last update. I brewed another double batch. One batch received a pitch of Farmhouse Sour Ale blend from The Yeast Bay and the other batch got WLP 672 (Brevis) and US-05. The Farmhouse Sour Ale blend has a mixture of Brevis and a Sacc. I pitched while the wort was still slightly warm and I let it naturally cool to room temp in my house. The other batch was left in my garage and I pitched with brevis and kept warm for 24 hours. After 24 hours, the beer was brought into the house to cool. I then pitched a single packet of US-05 and I let the beer ferment for two weeks before kegging. Both beers were very good and tart. I highly recommend folks giving lactobacillus brevis or plantarum a try. However, the key is letting them get a warm head start before pitching yeast. Another important key to brewing berliner weisse is using no hops. Lactobacillus is very hop sensitive. Keep the IBUs very low. I choose to go with no hops at all. The style calls for about 5 IBUs, but I’m willing to bet no one can taste 5 IBUs of bitterness, so I just skip the hops all together.
Welcome to our blog/website. This blog is written by a group homebrewers in the deep south. We are deeply committed to the promotion and education of craft brewing. We are passionate about all things beer and food. This website is a platform for us to share our knowledge with you. In the coming months and years, we plan on discussing the following topics: basic brewing techniques, advanced brewing techniques, beers styles (BJCP) training, beer pairings, product reviews, and lot of good old southern cooking. So join us on this adventure while we share our passions with the world and please share our page with folks who might be interested in following along.
 Entry: 001
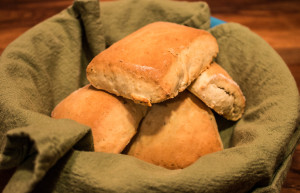 There isn’t a single traditional home in the south where biscuits aren’t a staple. We don’t make biscuits a lot in our house due to our busy schedules, but we do like to make them about once a week. This recipe is a quick cream biscuit recipe that can be easily whipped up in minutes. This minute is great on those nights you want a biscuit with your meal, but don’t want to spend a lot of time making them.
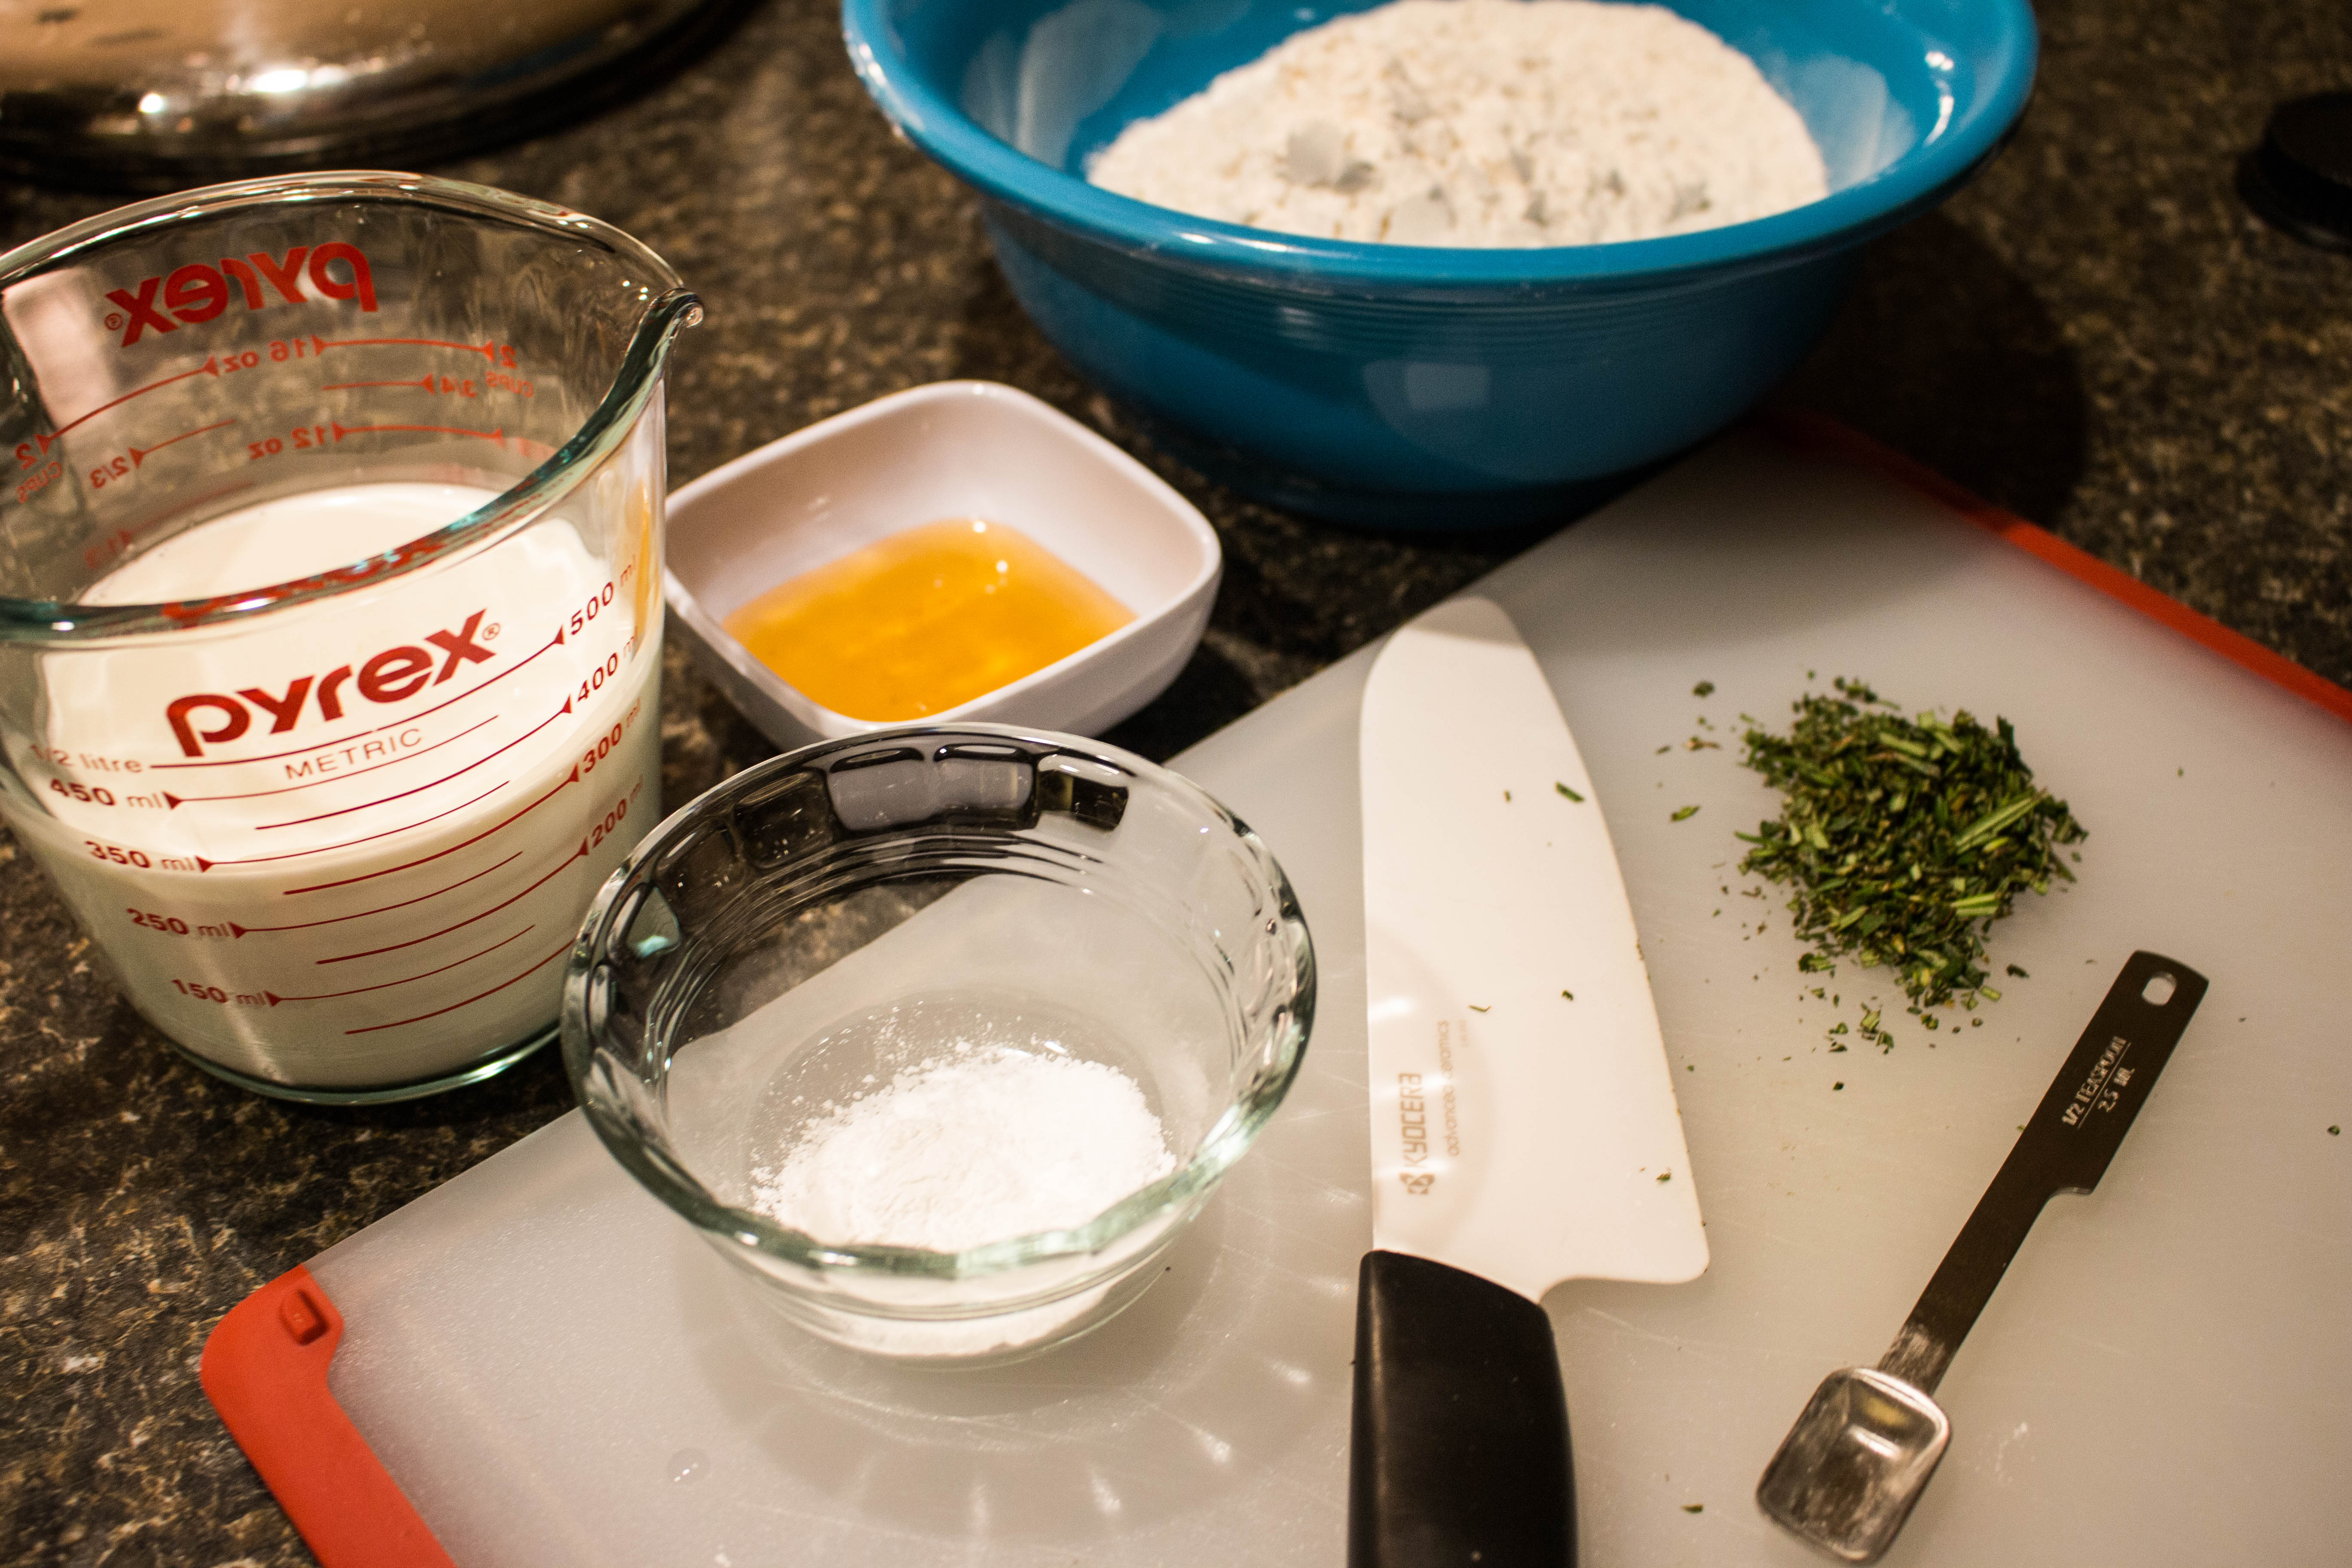
 The second method of measuring pH is using a pH meter. This is the preferred method of measuring pH. Meters can range in price from $15 to thousands of dollars. A $13 model can be found
 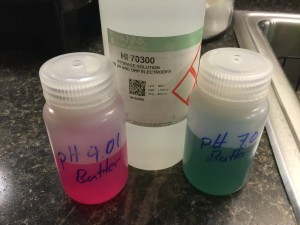 You will also need to purchase three (two if your pH meter only has a one-point calibration) different solutions to maintain your pH meter. The first one or two solutions you will need are called buffer solutions. These are used to calibrate your pH meter. Most pH meters will require at least a two-point calibration. Usually the pH meter will want to be calibrated with solutions with pHs at 4.0 and 7.0. Calibration
 rinse with water and place the probe back into its storage container.
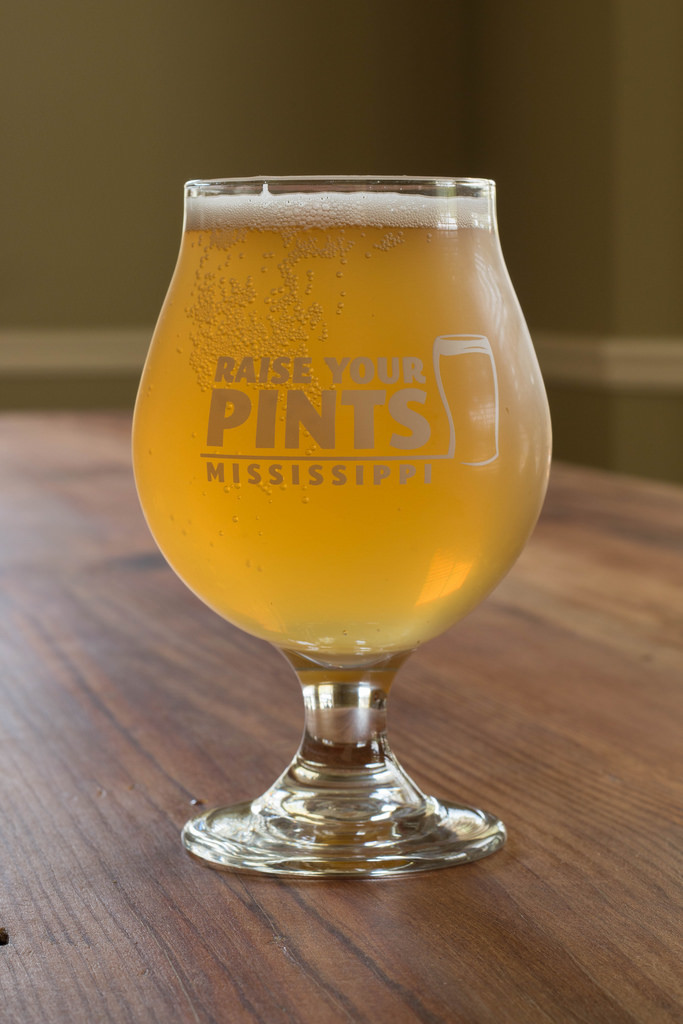 Berliner Wisses are one of my favorite styles of beer. They are tart, easy drinking, and the base beer is extremely easy to make. Based on the BJCP 2015 guidelines, a Berliner Wiesse is supposed to have a starting gravity around 1.030 and 5 IBUs of hops and composed primarily of wheat and pilsner malt in equal amounts.